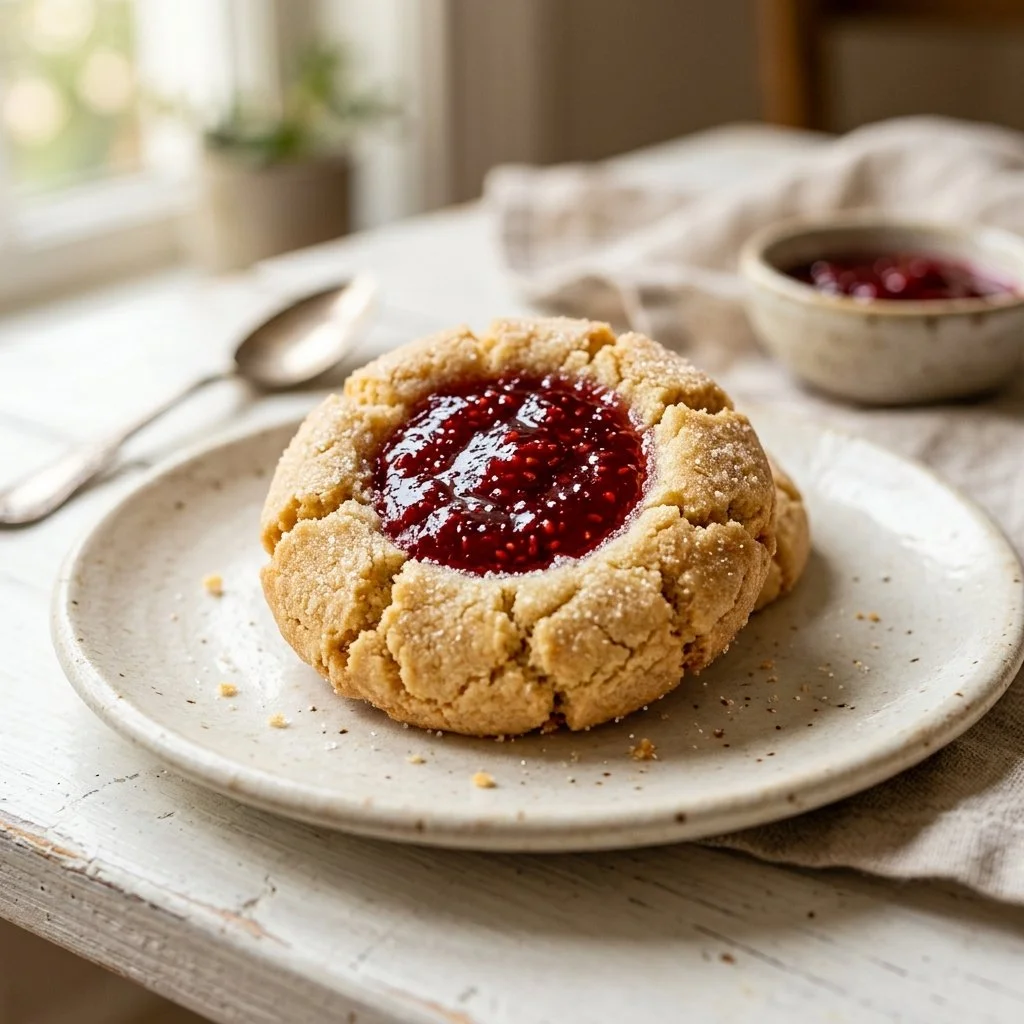
When I was a child, Sundays were always filled with the warm aroma of baking treats wafting through our home. My mother would often invite us into the kitchen where the magic of cookies began. Among the most cherished of these family recipes were her thumbprint cookies: delightfully simple, yet stunningly delicious with their sunny dollops of fruit preserves nestled into buttery dough. It’s a nostalgia trip that wraps me in comfort and sweetness every time I bake these little treasures. Today, I’m excited to share my version of this delightful treat, perfect for any occasion or simply to brighten your afternoon.
Recipe Timing
- Prep Duration: 15 minutes
- Active Cooking: 18 minutes
- Total Duration: 33 minutes
- Portion Size: 24 cookies
- Complexity: Simple
Nutritional Recipe
- Calories per portion: Approximately 115
- Protein: 1g per serving
- Carbs: 16g per serving
- Fats: 6g per serving
- Fiber: 0.5g per serving
- Sugars: 5g per serving
- Sodium: 35mg per serving
Why You’ll Love This Thumbprint Cookies Recipe
These thumbprint cookies are the embodiment of comfort in every bite. They strike the perfect balance between buttery richness and the juicy burst of fruit preserves, drawing you back for just one more (or three). They’re versatile, too—you can choose any jam or preserve that delights your taste buds, allowing for endless flavor combinations. Perfect for family gatherings, holiday parties, or just a cozy evening with a cup of tea!
The Complete Cooking Journey
Step into the kitchen with me as we embark on the delicious journey of making these thumbprint cookies. The gentle sound of an electric mixer humming, the tactile pleasure of rolling dough in your hands, and the anticipation as you watch them transform in the oven—this experience will surely become a cherished ritual in your home.
Ingredients:
- 1 cup unsalted butter, softened
- 1/2 cup granulated sugar
- 1/2 cup brown sugar, packed
- 1 teaspoon vanilla extract
- 2 cups all-purpose flour
- 1/4 teaspoon salt
- 1/4 teaspoon baking powder
- 1/2 cup fruit preserves (your choice)
Method:
Step 1: Preheat Your Oven
Preheat your oven to 350°F (175°C). This ensures that the cookies bake evenly and come out perfectly golden.
Step 2: Cream the Butters and Sugars
In a large mixing bowl, cream together the butter, granulated sugar, and brown sugar until smooth. This alchemy of sugar and butter is what gives the cookies their signature melt-in-your-mouth texture.
Step 3: Add the Magic of Vanilla
Mix in the vanilla extract for that beautiful aromatic essence that will elevate your cookies to something special.
Step 4: Whisk the Dry Ingredients
In a separate bowl, whisk together the flour, salt, and baking powder. This helps to ensure that the leavening agent is evenly distributed throughout the flour. It’s a little step, but it makes a big difference!
Step 5: Combine the Mixtures
Gradually add the dry ingredients to the wet ingredients, mixing until well combined. You want this dough to be soft and pliable, ready for shaping.
Step 6: Roll Into Balls
Roll the dough into 1-inch balls and place them on a baking sheet lined with parchment paper. This makes cleanup a breeze and prevents sticking!
Step 7: Create Your Thumbprint
Use your thumb to press down in the center of each ball, creating a small well that will hold the fruit preserves—this is how these cookies get their name!
Step 8: Fill with Preserves
Fill each indentation with a small amount of fruit preserves of your choice. Whether it’s strawberry, raspberry, or apricot, the choice is yours.
Step 9: Bake to Perfection
Bake for 15-18 minutes or until the edges are lightly browned. Keep an eye on them; you want just the right amount of golden goodness.
Step 10: Cool and Enjoy!
Allow the cookies to cool on the baking sheet for a few minutes before transferring them to a wire rack to cool completely. This is the hardest part—waiting for the first bite!
Serving Suggestions & Pairings
These thumbprint cookies are divine when paired with a hot cup of tea or coffee. They can also be served alongside a scoop of vanilla ice cream for a delightful dessert. Want to get fancy? Try garnishing them with a sprinkle of powdered sugar or some fresh fruit slices for a beautiful presentation.
Storage & Leftovers Guide
Store your thumbprint cookies in an airtight container at room temperature for up to a week. If you want them to last even longer, you can freeze them for up to three months. Simply thaw at room temperature when you’re ready to enjoy!
Kitchen Wisdom & Success Tips
- Ensure your butter is at room temperature to make creaming easier.
- Don’t overmix the dough once you add the dry ingredients; this keeps cookies tender.
- Feel free to use different jams or even chocolate ganache for a decadent twist!
Flavor Variations & Adaptations
- Switch up the preserves for seasonal fruit—think peach in summer or cranberry in winter.
- Add a sprinkle of citrus zest to the dough for a refreshing twist.
- Experiment with adding nuts or chocolate chips to the dough for extra texture.
Reader Questions & Solutions
-
Can I use margarine instead of butter?
Yes, but the cookies may not be as rich! Unsalted butter is recommended for flavor balance. -
What if my dough is too crumbly?
Add a teaspoon of milk at a time until the dough holds together. -
How can I make these cookies gluten-free?
Substitute regular flour with a gluten-free blend. -
Can I make the dough ahead of time?
Absolutely! Roll the dough into balls, freeze them, and bake when ready. -
My thumbprint isn’t holding the preserves; what should I do?
Make sure to press firmly enough to create a deep enough well, but if it collapses, just reshape it slightly before baking.
Wrapping Up
Baking thumbprint cookies isn’t just about the end product; it’s about creating warm memories in the kitchen. I hope you feel inspired to gather your loved ones and share delightful moments together. Whether you’re revisiting this nostalgic treat or creating new traditions, these cookies will undoubtedly bring smiles and joy. Happy baking!
PrintThumbprint Cookies

Delightfully simple thumbprint cookies filled with your choice of fruit preserves, perfect for any occasion.
- Prep Time: 15 minutes
- Cook Time: 18 minutes
- Total Time: 33 minutes
- Yield: 24 cookies 1x
- Category: Dessert
- Method: Baking
- Cuisine: American
- Diet: Vegetarian
Ingredients
- 1 cup unsalted butter, softened
- 1/2 cup granulated sugar
- 1/2 cup brown sugar, packed
- 1 teaspoon vanilla extract
- 2 cups all-purpose flour
- 1/4 teaspoon salt
- 1/4 teaspoon baking powder
- 1/2 cup fruit preserves (your choice)
Instructions
- Preheat your oven to 350°F (175°C).
- Cream together the butter, granulated sugar, and brown sugar until smooth.
- Mix in the vanilla extract.
- Whisk together the flour, salt, and baking powder in a separate bowl.
- Combine the dry ingredients with the wet ingredients, mixing until well combined.
- Roll the dough into 1-inch balls and place them on a baking sheet lined with parchment paper.
- Press down in the center of each ball to create a small well.
- Fill each indentation with fruit preserves.
- Bake for 15-18 minutes or until the edges are lightly browned.
- Cool on the baking sheet for a few minutes before transferring to a wire rack.
Notes
Store cookies in an airtight container at room temperature for up to a week or freeze for up to three months.
Nutrition
- Serving Size: 1 cookie
- Calories: 115
- Sugar: 5g
- Sodium: 35mg
- Fat: 6g
- Saturated Fat: 4g
- Unsaturated Fat: 2g
- Trans Fat: 0g
- Carbohydrates: 16g
- Fiber: 0.5g
- Protein: 1g
- Cholesterol: 30mg