why make this recipe
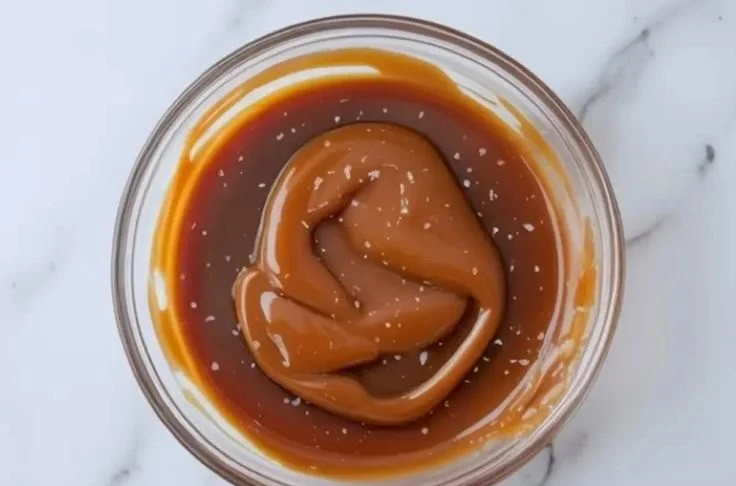
Salted caramel cake filling adds a rich, sweet, and slightly salty flavor to your desserts. It’s perfect for those who love the combination of sweet and savory. This filling is not only delicious but also easy to make, making it a great choice for both beginner bakers and seasoned chefs. Whether you are making a layered cake, cupcakes, or even brownies, this salted caramel filling elevates any dessert.
how to make Salted Caramel Cake Filling
Ingredients :
- 1 cup granulated sugar
- 6 tablespoons unsalted butter
- 1/2 cup heavy cream
- 1 teaspoon sea salt
- 1 teaspoon vanilla extract
Directions :
- In a medium saucepan over medium heat, melt the sugar, stirring constantly until it becomes a golden brown color.
- Carefully add the butter and stir until melted.
- Slowly pour in the heavy cream while stirring continuously until smooth.
- Remove from heat and stir in the salt and vanilla extract.
- Allow to cool before using as a filling between cake layers, in filled cupcakes, or as frosting.
how to serve Salted Caramel Cake Filling
You can serve salted caramel cake filling in many ways. Use it between layers of cake to create a delicious layered dessert. It’s also fantastic in cupcakes, where you can fill the center for a surprise treat. Additionally, you can drizzle it on top of cakes or ice cream for a tasty topping.
how to store Salted Caramel Cake Filling
Store any leftover salted caramel filling in an airtight container in the refrigerator. It can last up to two weeks. When you’re ready to use it, simply reheat it gently in the microwave or on the stove. Be sure to stir it well before serving.
tips to make Salted Caramel Cake Filling
- Make sure to stir the sugar constantly to prevent it from burning.
- Use a heavy-bottomed saucepan for even heating.
- If you want a thicker filling, let it cool longer before using.
- Don’t skip the sea salt; it enhances the caramel flavor.
variation
You can add different flavors to your salted caramel filling by incorporating a splash of espresso or bourbon for a unique twist. You may also use flavored extracts, like orange or almond, to create different flavor profiles.
FAQs
Can I use salt substitutes in this recipe?
Yes, you can use other types of salt, but sea salt adds a nice texture and flavor.
What can I do if my caramel hardens as it cools?
If your caramel hardens, simply warm it gently until it becomes pourable again.
Can I freeze salted caramel filling?
Yes, you can freeze it. Just make sure it’s in a freezer-safe container, and thaw it in the refrigerator before using.
Salted Caramel Cake Filling
A rich and easy-to-make salted caramel filling that adds a sweet and savory flavor to desserts.
- Prep Time: 10 minutes
- Cook Time: 10 minutes
- Total Time: 20 minutes
- Yield: 2 cups 1x
- Category: Dessert
- Method: Stovetop
- Cuisine: American
- Diet: Vegetarian
Ingredients
- 1 cup granulated sugar
- 6 tablespoons unsalted butter
- 1/2 cup heavy cream
- 1 teaspoon sea salt
- 1 teaspoon vanilla extract
Instructions
- Melt the sugar in a medium saucepan over medium heat, stirring constantly until golden brown.
- Carefully add the butter and stir until melted.
- Pour in the heavy cream while stirring continuously until smooth.
- Remove from heat and stir in the salt and vanilla extract.
- Allow to cool before using as a filling or topping.
Notes
Store leftover filling in an airtight container in the refrigerator for up to two weeks. Reheat gently before using.
Nutrition
- Serving Size: 1 tablespoon
- Calories: 150
- Sugar: 20g
- Sodium: 200mg
- Fat: 7g
- Saturated Fat: 4g
- Unsaturated Fat: 3g
- Trans Fat: 0g
- Carbohydrates: 20g
- Fiber: 0g
- Protein: 0g
- Cholesterol: 20mg