
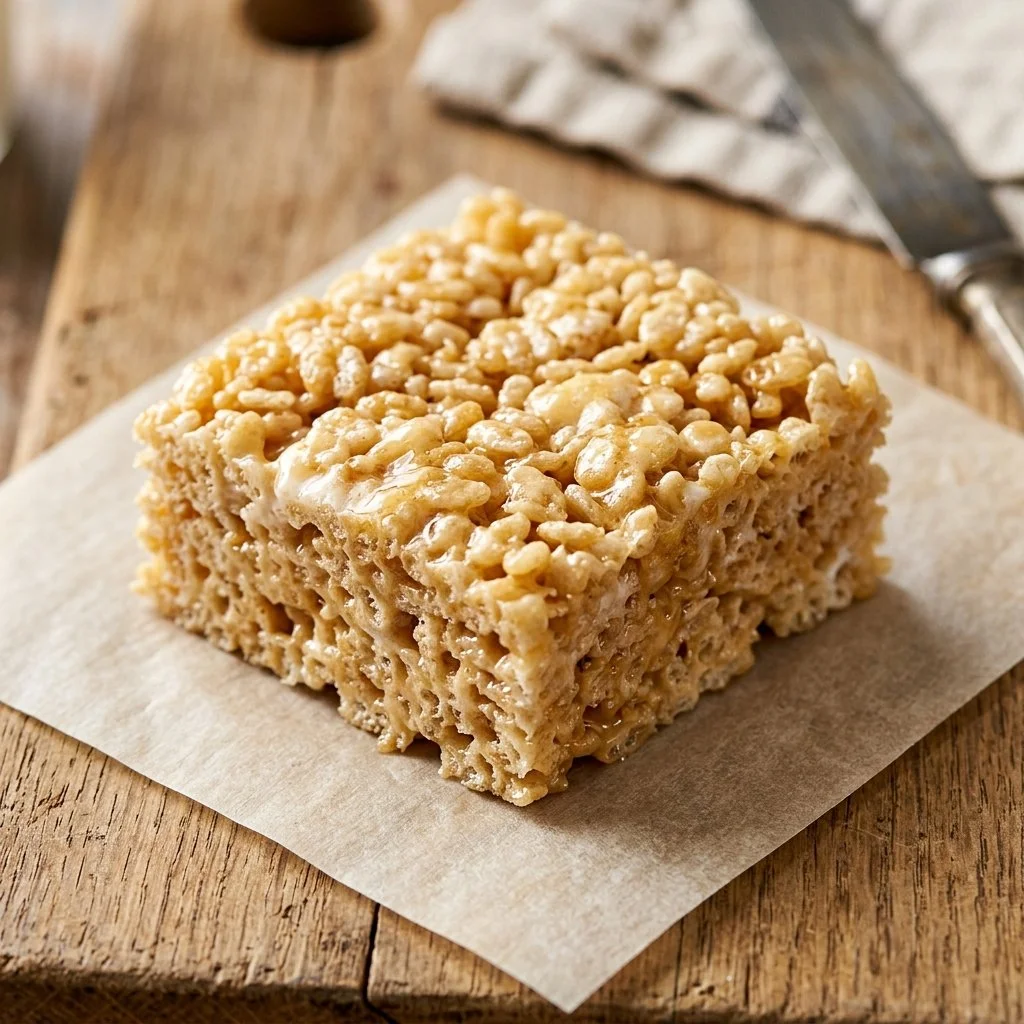
There’s something magical about a classic Rice Krispie treat—they’re a delicious ode to childhood, a sweet reminder of carefree days spent in the kitchen with family. Picture this: a warm afternoon, the sun streaming through the window, laughter filling the air as you and your loved ones huddle around the stove, stirring gooey marshmallows and crisp cereal. Each bite is a delightful crunch, a perfect blend of buttery sweetness and marshmallow fluffiness. Whether you’re reminiscing about lunchtime snacks or searching for a simple dessert to make with your kids, Rice Krispie treats always seem to hit the spot.
Recipe Timing
- Prep Duration: 10 minutes
- Active Cooking: 10 minutes
- Total Duration: 20 minutes
- Portion Size: 24 squares
- Complexity: Simple
Nutritional Recipe
- Calories per portion: 90
- Protein: 1g
- Carbs: 18g
- Fats: 3g
- Fiber: 0g
- Sugars: 8g
- Sodium: 60mg
Why You’ll Love This Rice Krispie Treats
Rice Krispie treats are the epitome of comfort food. With just three ingredients, they come together in a matter of minutes and leave behind that irresistible sweet scent of melting marshmallows. They’re incredibly versatile, too! You can customize them to fit every occasion, from adding sprinkles for birthday celebrations to drizzling chocolate on top for a holiday treat. Plus, everyone loves these gooey bites—whether they’re a nostalgic snack for adults or a new favorite for kids, they’re sure to bring smiles.
The Complete Cooking Journey
Making Rice Krispie treats is a delightful culinary adventure that requires minimal ingredients and effort, but promises maximum joy. Let’s embark on this simple yet fulfilling journey.
Ingredients:
- 3 tablespoons butter
- 1 package (10 oz) marshmallows or 4 cups miniature marshmallows
- 6 cups Rice Krispies cereal
Method:
Step 1: Melt the Butter
In a large pot over low heat, melt the butter until it’s completely liquefied, filling your kitchen with a warm, buttery aroma.
Step 2: Mix in the Marshmallows
Add the marshmallows to the melted butter. Stir continuously until the marshmallows melt into a smooth, gooey mixture. This is where the fun begins!
Step 3: Remove from Heat
Once the marshmallows are fully melted and combined with the butter, carefully remove the pot from the heat.
Step 4: Combine with Rice Krispies
Now, add the Rice Krispies cereal to the marshmallow mixture. Stir gently until every piece of cereal is well-coated in that fluffy cloud of marshmallow goodness.
Step 5: Press into the Pan
Transfer the mixture to a buttered 9×13 inch pan. Use a spatula or your hands (lightly buttered, of course) to press the mixture firmly into the pan, ensuring it’s evenly spread.
Step 6: Cool and Cut
Allow the treats to cool completely before cutting them into squares. Patience is key, but it’s worth the wait!
Serving Suggestions & Pairings
Rice Krispie treats are delightful on their own, but why not elevate them? Pair them with a scoop of vanilla ice cream for an indulgent dessert, or enjoy them alongside a warm mug of hot chocolate on a chilly afternoon. They also make for great lunchbox surprises!
Storage & Leftovers Guide
These treats are best stored at room temperature, tightly wrapped in plastic wrap or stored in an airtight container. They’ll stay fresh for about 3-4 days, but let’s be honest—you’ll probably devour them long before that!
Kitchen Wisdom & Success Tips
- Butter Your Hands: When pressing the mixture into the pan, lightly butter your hands to prevent sticking.
- Add-ins Galore: Consider tossing in some chocolate chips, nuts, or dried fruit for added flavor and texture.
- Use a Firm Press: Ensure that the mixture is packed tightly in the pan; this will help the squares hold together once cut.
Flavor Variations & Adaptations
Get creative! How about peanut butter Rice Krispie treats? Just swirl in some creamy peanut butter during the marshmallow mixture stage. Or make it festive with a handful of colorful sprinkles or seasonal candies for a holiday twist!
Reader Questions & Solutions
-
Why did my Rice Krispie treats turn out too hard?
This may happen if you used too many Rice Krispies or pressed them too tightly. Keep the ratio equal, and press gently. -
Can I use flavored marshmallows?
Absolutely! Flavored marshmallows can add a fun twist. Try strawberry or chocolate marshmallows for a little something different. -
Can I make these gluten-free?
Yes! Just ensure your Rice Krispies are labeled gluten-free, and you’re good to go. -
How do I prevent sticking?
A bit of grease goes a long way; butter your hands and the pan to reduce the stickiness. -
Can I freeze Rice Krispie treats?
Yes! Wrap individual squares in plastic wrap and freeze them for up to a month. Just thaw them at room temperature before indulging.
Wrapping Up
These Rice Krispie treats are more than just a recipe; they’re an opportunity to create cherished memories, warm up your kitchen with sweet aromas, and share a delightful snack with family and friends. Give them a try, and relish in the joy of making—and eating—these classic treats. Remember, cooking at home isn’t just about feeding ourselves; it’s about creating moments that we cherish for years to come. Happy treating!