
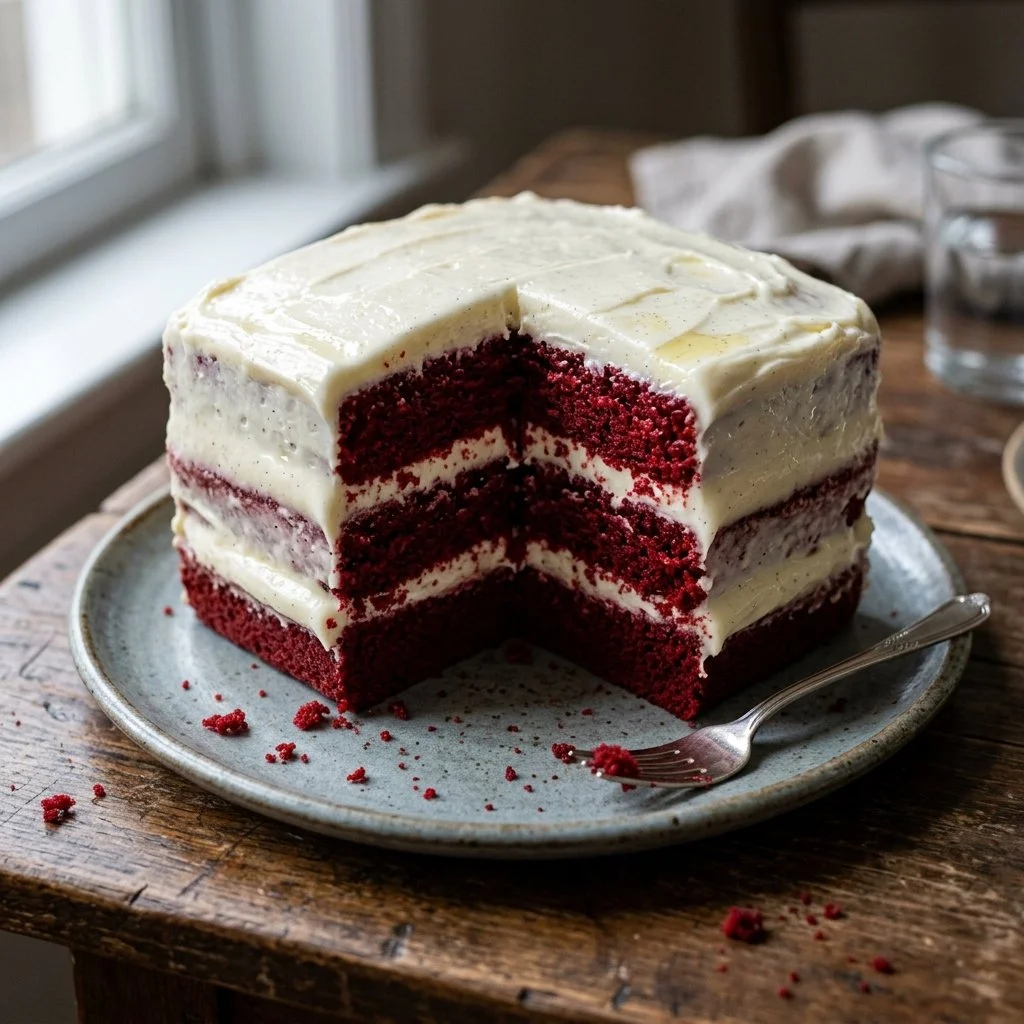
As the fragrance of freshly baked cake fills the air, it evokes memories of family gatherings, birthday celebrations, and the sweet anticipation of dessert. There’s a certain magic in baking—an excitement that begins with collaborative recipe gathering to the final moments of frosting a cake. One cake that always ignites a wave of nostalgia for me is the classic Red Velvet Cake. With its iconic crimson hue and velvety texture, this cake holds a special place in my heart and on my dessert table. Whether adorned with cream cheese frosting or left simply elegant, it’s a straightforward yet rewarding endeavor that turns any day into a celebration.
Recipe Timing
- Prep Duration: 25 minutes
- Active Cooking: 30 minutes
- Total Duration: 55 minutes
- Portion Size: 12 servings
- Complexity: Simple
Nutritional Recipe
- Calories per portion: 350
- Protein: 3g
- Carbs: 44g
- Fats: 17g
- Fiber: 1g
- Sugars: 29g
- Sodium: 380mg
Why You’ll Love This Red Velvet Cake
Red Velvet Cake is not just a treat for the taste buds; it’s a visual masterpiece. The vibrant red color sings of joy and festivity, while the chocolatey undertones boost its flavor profile. Moist and tender, it practically melts in your mouth, making it irresistible at celebrations or just an ordinary Tuesday. Plus, it’s versatile! A hint of cream cheese glaze adds a tangy balance, while whipped cream could drape its layers in a soft, luscious finish.
The Complete Cooking Journey
Baking this sumptuous cake is a journey filled with anticipation and joy. You’ll begin by gathering a few basic ingredients—notably, the magical red food coloring that transforms a simple batter into a vibrant delight. The sifting, mixing, and pouring will feel effortless, and when it’s time for the oven, prepare for the aroma that will have family members flocking into the kitchen. With a bit of patience, cooling time, and frosting, you will emerge victorious, having created a stunning centerpiece that dazzles both the eyes and the palate.
Ingredients:
- 2 1/2 cups all-purpose flour
- 1 1/2 cups sugar
- 1 teaspoon baking soda
- 1 teaspoon salt
- 1 teaspoon cocoa powder
- 1 1/2 cups vegetable oil
- 1 cup buttermilk, room temperature
- 2 large eggs, room temperature
- 2 tablespoons red food coloring
- 1 teaspoon vanilla extract
- 1 teaspoon white vinegar
Method:
Step 1: Preheat the Oven and Prepare Your Pans
Preheat the oven to 350°F (175°C). Grease and flour two 9-inch round cake pans to ensure a seamless cake removal after baking.
Step 2: Sift the Dry Ingredients
In a large bowl, sift together the flour, sugar, baking soda, salt, and cocoa powder. This will mix the ingredients uniformly and add air, resulting in a lighter cake.
Step 3: Combine Wet Ingredients
In another bowl, mix the vegetable oil, buttermilk, eggs, red food coloring, vanilla extract, and white vinegar until well combined. This vibrant mixture is where the cake gets its signature color and moistness.
Step 4: Mix Dry and Wet Ingredients
Gradually add the wet ingredients to the dry mixture, mixing until just combined. Be careful not to over-mix, as this can lead to a denser cake.
Step 5: Distribute the Batter
Divide the batter evenly between the prepared cake pans, ensuring that each has the same amount for uniform baking.
Step 6: Bake to Perfection
Bake for 25-30 minutes, or until a toothpick inserted into the center comes out clean. This is the moment when your kitchen will be filled with a sweet, inviting aroma!
Step 7: Cool the Cakes
Let the cakes cool in the pans for 10 minutes. Gently turn them out onto wire racks to cool completely before frosting. This step is crucial for avoiding a messy assembly!
Serving Suggestions & Pairings
While Red Velvet Cake is a showstopper on its own, pairing it with a scoop of vanilla ice cream or fresh berries elevates the experience. A cup of coffee or a chilled glass of milk also complements its rich flavors beautifully.
Storage & Leftovers Guide
To keep your Red Velvet Cake fresh, store it in an airtight container at room temperature for up to 3 days. For longer freshness, refrigerate it for up to a week. This cake also freezes well! To freeze, wrap slices in plastic wrap and then foil, and they’ll be good for up to 3 months.
Kitchen Wisdom & Success Tips
- Ensure your ingredients are at room temperature for better blending.
- Don’t skip the sifting step; it lightens the dry ingredients and makes for a fluffier cake.
- For a richer cake, consider substituting some of the vegetable oil with melted butter.
Flavor Variations & Adaptations
Experiment with flavors by adding a teaspoon of almond extract for a subtle twist. You could also top your cake with a layer of ganache or opt for a lemon curd frosting for a zestier take.
Reader Questions & Solutions
-
Q: Can I make this cake ahead of time?
A: Absolutely! Bake and cool the cakes, then wrap them tightly and refrigerate or freeze until you’re ready to frost. -
Q: What can I use if I don’t have buttermilk?
A: You can substitute buttermilk by mixing milk with vinegar or lemon juice and letting it sit for 5-10 minutes. -
Q: How do I get the red color just right?
A: Use gel food coloring for a more vibrant hue and adjust the amount to your preference. -
Q: Can I make mini cakes instead?
A: Certainly! You can use smaller pans and adjust the baking time to 15-20 minutes. -
Q: What frosting works best?
A: Cream cheese frosting is classic, but a fluffy whipped cream or chocolate frosting also pairs beautifully.
Wrapping Up
Baking a Red Velvet Cake is more than just following a recipe; it’s about celebrating the joy of cooking and sharing special moments with loved ones. I hope this recipe inspires you to heat up your oven, mix some ingredients, and create your own delightful masterpiece. With every slice, let the vibrant color and rich flavor bring joy to your table. Happy baking!