
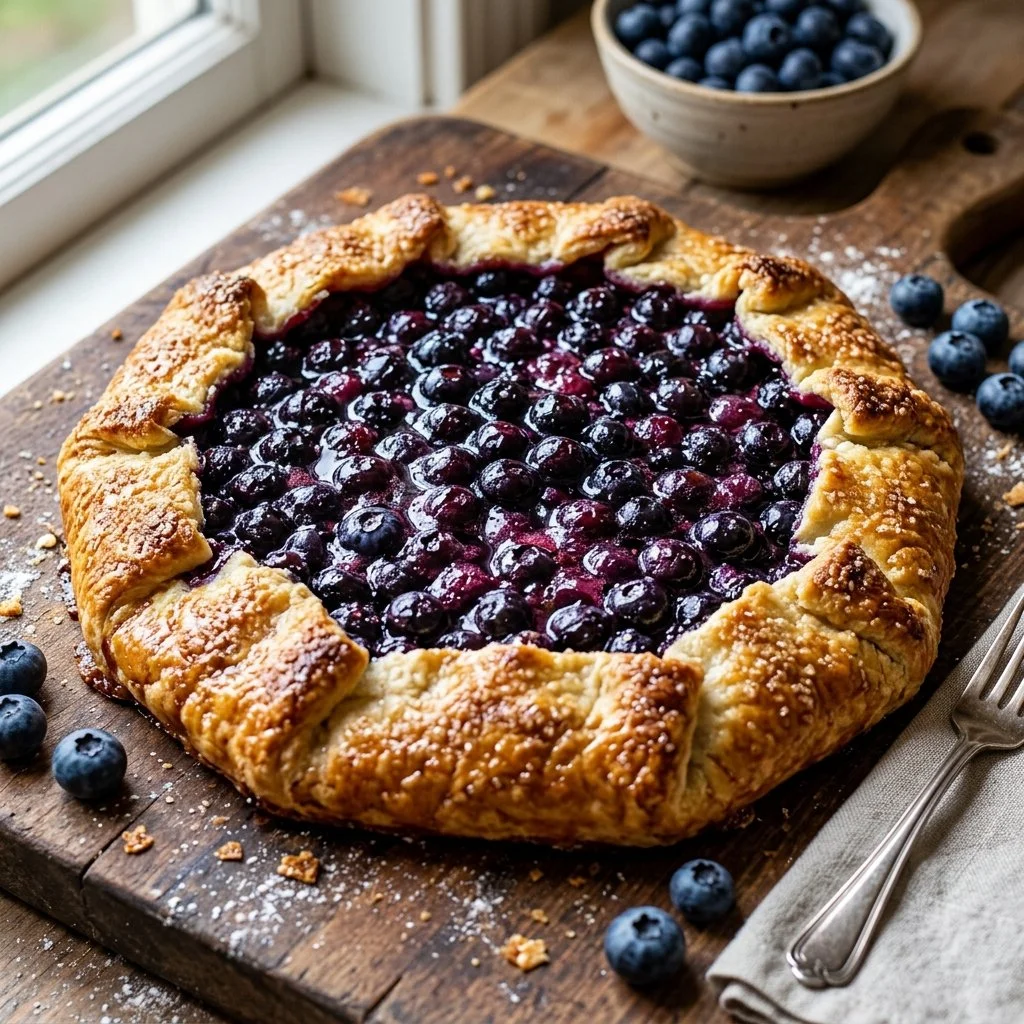
There’s something incredibly magical about biting into a warm slice of blueberry galette, the sweet-tart blueberries bursting with juice, wrapped in a flaky, golden crust. This dish feels like summer captured in dessert form, reminding me of sun-drenched afternoons spent picking berries with my family. As a child, I would always be the first to sample the fresh blueberries, eagerly anticipating a slice of galette drizzled with cream. It’s a simple yet indulgent treat that not only satisfies your sweet tooth but also serves as a reminder of the cherished moments spent in the kitchen with loved ones.
Recipe Timing
- Prep Duration: 15 minutes
- Active Cooking: 30 minutes
- Total Duration: 45 minutes
- Portion Size: Serves 4-6
- Complexity: Simple
Nutritional Recipe
- Calories per portion: Approximately 220
- Protein: 3g
- Carbs: 31g
- Fats: 10g
- Fiber: 2g
- Sugars: 15g
- Sodium: 150mg
Why You’ll Love This Blueberry Galette
This blueberry galette isn’t just about flavor; it’s a delicious blend of textures and aromas. The tenderness of the blueberries contrasts beautifully with the crisp pastry, while the hint of cinnamon adds warmth and depth. Plus, it’s incredibly easy to make! With just a handful of ingredients and minimal preparation, you can create an impressive dessert that’s perfect for any occasion, from brunch gatherings to cozy weeknight dinners. The best part? It’s incredibly forgiving, so even novice bakers can achieve a stunning result.
The Complete Cooking Journey
Embarking on this blueberry galette adventure is a delightful experience. You’ll start by preheating your oven, filling your kitchen with the sweet fragrance of anticipation. As you prepare the blueberries, the vibrant color and juicy texture hint at the delicious treat to come. And when you roll out the pie crust, it’s as if you’re crafting a work of art. Before long, you’ll have a beautiful galette ready to emerge from the oven, golden and inviting.
Ingredients:
- 2 cups fresh blueberries
- 1 tablespoon lemon juice
- 1/3 cup sugar
- 1 tablespoon cornstarch
- 1/2 teaspoon ground cinnamon
- 1/4 teaspoon salt
- 1 pre-made pie crust
- 1 egg (for egg wash)
- 2 tablespoons butter
Method:
Step 1: Preheat the Oven
Preheat your oven to 375°F (190°C). This temperature is key for achieving that perfect golden crust.
Step 2: Prepare the Blueberry Filling
In a bowl, mix the fresh blueberries with lemon juice, sugar, cornstarch, cinnamon, and salt until they’re well combined. The lemon juice brightens the blueberries’ flavor while the sugar works its magic to create a luscious filling.
Step 3: Roll Out the Pie Crust
Roll out the pre-made pie crust on a baking sheet, creating a rustic base for your galette. Don’t stress about perfection; the charm of a galette is its laid-back style.
Step 4: Spoon the Blueberry Mixture
Spoon the blueberry mixture onto the center of the rolled-out crust. Leave a nice border around the edges so you can fold the crust over the blueberries.
Step 5: Fold and Pleat the Edges
Fold the edges of the crust over the blueberries, pleating as needed for a beautiful finish. This is where the rustic beauty of the galette shines through.
Step 6: Brush with Egg Wash
Brush the crust with beaten egg and sprinkle with additional sugar for a touch of sweetness and a beautiful sheen once baked.
Step 7: Dot with Butter
Dot the filling with small pieces of butter, which will melt and create a rich flavor as it bakes.
Step 8: Bake to Perfection
Bake for about 25-30 minutes or until the crust is golden and the blueberries are bubbling. The aroma wafting through your kitchen will be heavenly.
Step 9: Cool and Serve
Allow the galette to cool slightly before serving. This brief pause heightens the anticipation of enjoying your delicious creation.
Serving Suggestions & Pairings
This blueberry galette is perfect served warm, perhaps with a scoop of vanilla ice cream or a dollop of whipped cream. It also pairs beautifully with a glass of sparkling wine or a refreshing herbal tea for a cozy afternoon treat.
Storage & Leftovers Guide
Store any leftovers in an airtight container in the refrigerator for up to 3 days. To maintain the crust’s crispness, you can reheat it in the oven for a few minutes before serving.
Kitchen Wisdom & Success Tips
- If your blueberries are a bit tart, feel free to adjust the sugar to your preference.
- For added flavor, try incorporating a teaspoon of vanilla extract into the blueberry mixture.
- If you want to experiment, substitute half the blueberries with raspberries or blackberries for a mixed berry galette!
Flavor Variations & Adaptations
Feel free to adapt this recipe to fit your taste. Try adding a pinch of nutmeg or swapping out the cinnamon for cardamom. You can also use a homemade pie crust for an extra touch of love and indulgence.
Reader Questions & Solutions
-
Can I use frozen blueberries?
- Yes! Frozen blueberries work well; just be sure to thaw them and drain any excess liquid before using.
-
What if I don’t have cornstarch?
- You can use flour in place of cornstarch, but you may need to increase the amount slightly (up to 2 tablespoons).
-
How can I tell when the galette is done?
- The crust should be golden brown, and the filling should be bubbly. A skewer inserted into the fruit should come out clean.
-
Can I make this ahead of time?
- You can prepare the filling and crust separately in advance. Assemble and bake when you’re ready to serve.
-
What if I don’t have a baking sheet?
- A pizza stone or any oven-safe dish can substitute for a baking sheet. Just ensure it has edges to contain the filling!
Wrapping Up
Creating this blueberry galette is an experience filled with joy and deliciousness. Whether it’s for a special occasion or just a sweet weeknight treat, your kitchen will be filled with laughter and wonderful aromas. So gather your ingredients and embrace the simplicity and beauty of this dish—you won’t regret it! Now, let’s bake something magical together!