
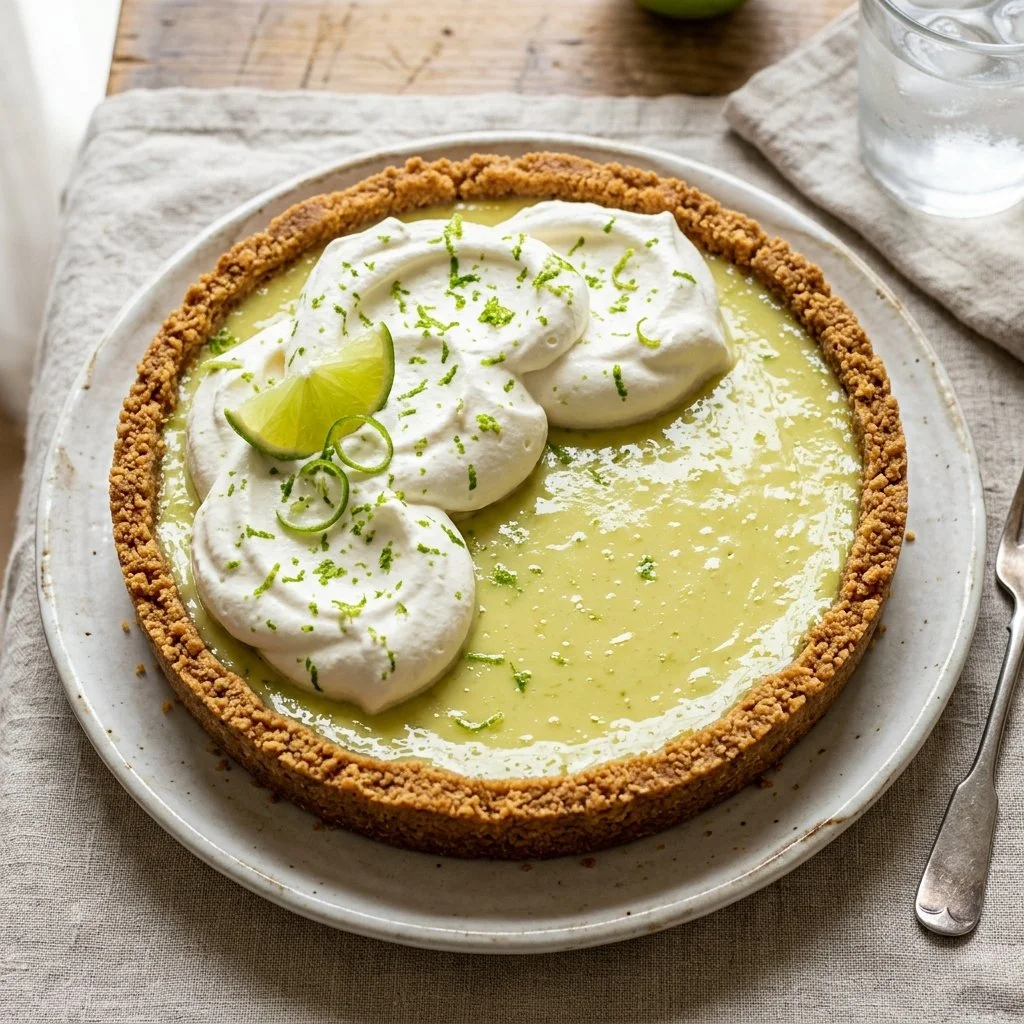
There’s something truly magical about Key Lime Pie. Whenever I think of this beloved dessert, I’m transported to balmy summer days, where the sun kisses your skin and the scent of fresh limes dances in the air. Growing up in a family that valued homemade treats, a slice of Key Lime Pie often graced our table during holiday gatherings and special occasions. My grandmother’s recipe, passed down through generations, was nestled among cherished mementos and surrounded by laughter. Each bite is a burst of tangy goodness, perfectly balanced with the sweetness of a graham cracker crust that crumbles just right with each forkful. Whether enjoyed after a casual family dinner or at a festive feast, Key Lime Pie has a unique way of turning any moment into a celebration.
Recipe Timing
- Prep Duration: 20 minutes
- Active Cooking: 25 minutes
- Total Duration: 3 hours 45 minutes (including cooling and chilling)
- Portion Size: 8 servings
- Complexity: Simple
Nutritional Recipe
- Calories per portion: Approximately 320
- Protein: 5 grams per serving
- Carbs: 36 grams per serving
- Fats: 18 grams per serving
- Fiber: 0 grams per serving
- Sugars: 20 grams per serving
- Sodium: 150 mg per serving
Why You’ll Love This Key Lime Pie
This Key Lime Pie is not just a dessert; it’s a sensory experience. Picture a buttery, crumbly crust that adds the perfect crunch to the silky, tart filling. With fresh key lime juice and a hint of lime zest, the filling strikes the ideal balance between sweet and tangy. Topped off with a cloud of whipped cream, it’s a symphony of flavors and textures that will have everyone coming back for seconds. Trust me, once you make this pie, it may just become your go-to dessert for every gathering!
The Complete Cooking Journey
Making Key Lime Pie can feel like a delightful expedition. From the moment you gather your ingredients to the second you take the first bite of your creation, every step is infused with joy. And the best part? It’s incredibly easy, making it perfect for both beginners and seasoned cooks alike.
Ingredients:
- 1 ½ cups graham cracker crumbs
- ½ cup granulated sugar
- ⅓ cup unsalted butter, melted
- 4 large egg yolks
- 1 can (14 ounces) sweetened condensed milk
- ½ cup fresh key lime juice
- Zest of 2 limes
- ½ cup heavy cream
- 2 tablespoons powdered sugar
Method:
Step 1: Preheat the Oven
Preheat the oven to 350°F (175°C). This is the first step in ensuring that your crust bakes to a perfect golden brown.
Step 2: Prepare the Graham Cracker Crust
In a mixing bowl, combine graham cracker crumbs, granulated sugar, and melted butter. Stir until the mixture resembles wet sand, then press it firmly into the bottom and up the sides of a pie dish.
Step 3: Bake the Crust
Bake the crust for 8-10 minutes until lightly golden. The aroma wafting through your kitchen will remind you of summer days spent by the beach.
Step 4: Whisk the Filling
In another bowl, whisk together the egg yolks, sweetened condensed milk, key lime juice, and lime zest until the mixture is smooth and well blended. The vibrant green color is sure to excite your senses!
Step 5: Fill the Crust
Pour the filling into the prepared crust, spreading it evenly with a spatula for that perfect pie presentation.
Step 6: Bake the Filling
Bake for 15 minutes, then remove from the oven and let cool. The filling will firm up as it cools, making for a luscious pie.
Step 7: Chill the Pie
Refrigerate the pie for at least 3 hours before serving. This is crucial for setting the filling and enhancing the flavors — trust me, it’s worth the wait!
Step 8: Whip the Topping
For the topping, whip the heavy cream with powdered sugar until soft peaks form. Spread it gently over the cooled pie, creating a beautiful, fluffy cloud on top.
Serving Suggestions & Pairings
Serve your Key Lime Pie with fresh lime wedges or a sprinkle of lime zest for that extra pop of color. For a drink pairing, consider a well-chilled mojito or a light sparkling water with mint. This pie also shines as a refreshing treat after a spicy meal or during summer gatherings.
Storage & Leftovers Guide
Key Lime Pie can be stored in the refrigerator for up to 5 days. To keep it fresh, cover it loosely with foil or plastic wrap to protect the topping. If you want to preserve it for a longer duration, you can freeze the pie, just be mindful of the whipped cream topping, as it may not freeze well.
Kitchen Wisdom & Success Tips
- Use Fresh Key Limes: For the best flavor, opt for fresh key limes if you can find them. Bottled juice doesn’t compare!
- Cream Cold for Whipping: Ensure your heavy cream is cold for the easiest whipping—this makes a big difference in achieving fluffy peaks.
- Don’t Overbake: Keep an eye on the crust while baking. Overbaking can lead to a crust that’s too hard; aim for lightly golden, just like the sun-kissed beaches of Key West.
Flavor Variations & Adaptations
- Coconut Twist: Add ½ cup of shredded coconut to the crust for an island vibe.
- Minty Fresh: Mix in a teaspoon of fresh mint into the whipped cream topping for a refreshing twist.
- Chocolate Layer: Drizzle melted chocolate over the filling before adding the whipped cream for a deliciously rich chocolate key lime experience.
Reader Questions & Solutions
Q: Can I use regular limes instead of key limes?
A: Yes, you can! Just note that the flavor will be a bit different, but it will still taste great.
Q: My pie didn’t set; what went wrong?
A: Ensure you’ve allowed enough chilling time in the refrigerator. The cooling process is crucial for the filling to firm up.
Q: How can I tell when my pie is baked properly?
A: The filling should be set but still slightly jiggly in the center when you take it out—it will firm up further as it cools.
Q: Can I make this pie gluten-free?
A: Absolutely! Use gluten-free graham crackers or an alternative crust made from nuts.
Q: How do I make this pie ahead of time?
A: You can bake the crust a day in advance and store it at room temperature covered. Make the filling and whip the cream the day of serving to ensure freshness.
Wrapping Up
As you dive into making this classic Key Lime Pie, remember to savor each moment, from mixing the ingredients to the first bite. This dessert is more than just food; it’s a slice of nostalgia wrapped in tangy goodness. So, gather your loved ones, share the experience, and let the flavors transport you to sun-soaked shores. Happy baking!