
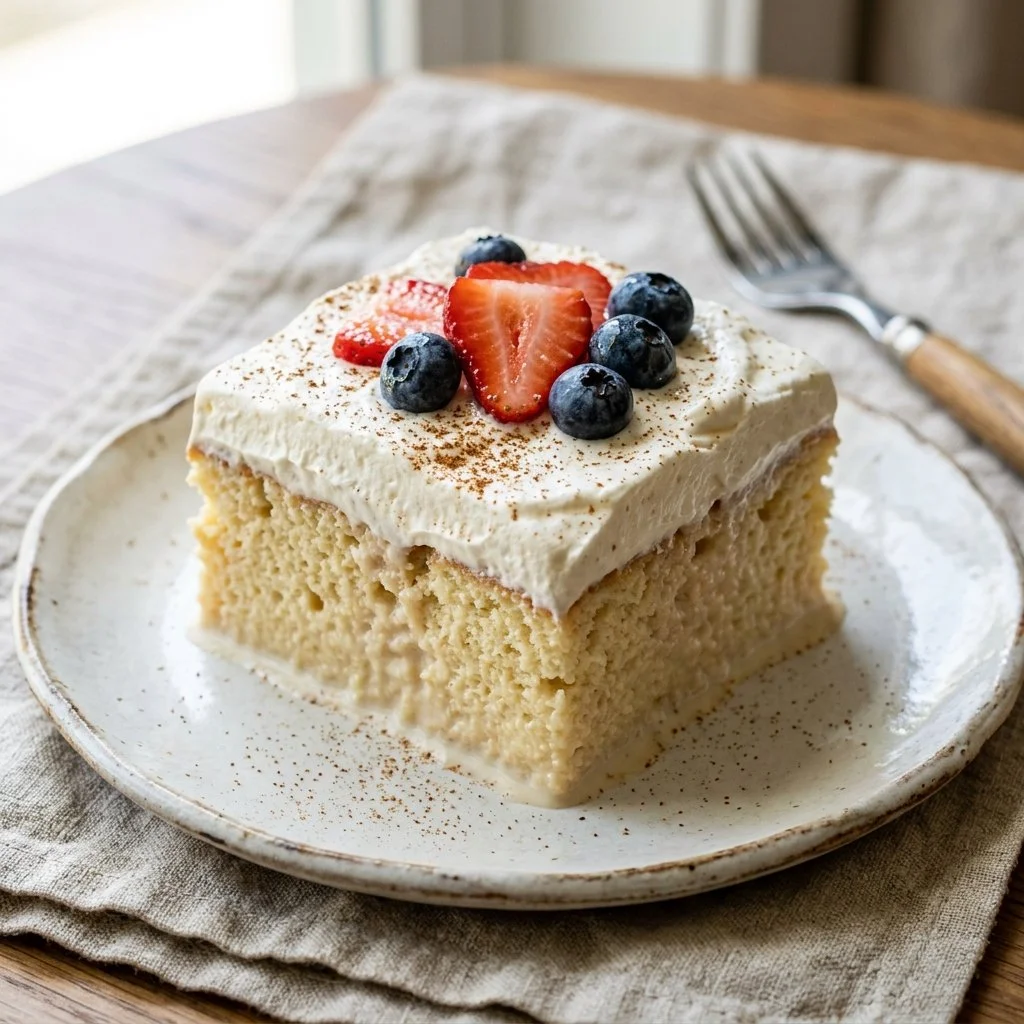
There’s something magical about the sweetness of nostalgia that seems to envelop a warm kitchen on a lazy Sunday afternoon. It was on one such day, while peering into my grandmother’s cherished recipe box, that I stumbled upon her handwritten notes for Tres Leches Cake. Memories flooded in—of hot summer days spent at family gatherings where a slice of this moist, syrup-soaked cake was the star of the show, bringing smiles and laughter around the dining table. That creamy texture, the sweet milky goodness, and the tender cake transported me back in time, each bite a delicious reminder of love and tradition. It was then that I knew I had to share this recipe with you, so you too can create warm memories around your own dining table with this delightful treat.
Recipe Timing
- Prep Duration: 20 minutes
- Active Cooking: 30 minutes
- Total Duration: 4 hours 50 minutes (including chilling time)
- Portion Size: 12 servings
- Complexity: Simple
Nutritional Recipe
- Calories per portion: Approximately 400
- Protein: 8 grams
- Carbs: 53 grams
- Fats: 19 grams
- Fiber: 0 grams
- Sugars: 30 grams
- Sodium: 120 mg
Why You’ll Love This Tres Leches Cake
Tres Leches Cake, with its rich heritage and delightful flavor, is more than just a dessert—it’s an experience. Each slice is a celebration of three types of milk that blend together to create a cake that is not just moist but positively enchanting. Perfectly sweetened and often adorned with fresh fruit, it offers a comforting sweetness that compliments any occasion, be it a birthday party, a casual weekend get-together, or simply a Monday that deserves a special touch. Your taste buds will dance with joy as you indulge in its creamy layers, and you’ll find yourself wondering how such a simple cake can hold such depth of flavor.
The Complete Cooking Journey
Get ready to embark on a delightful baking adventure! This recipe will take you through simple steps to transform basic ingredients into a luxurious dessert that will impress your family and friends. Don your apron and let’s get started!
Ingredients:
- 1 cup all-purpose flour
- 1 1/2 tsp baking powder
- 1/4 tsp salt
- 5 large eggs
- 1 cup sugar
- 1/3 cup milk
- 1 tsp vanilla extract
- 1 can (12 oz) evaporated milk
- 1 can (14 oz) sweetened condensed milk
- 1 cup heavy cream
- 1/4 cup sugar (for whipping cream)
- Fresh fruit, for topping (optional)
Method:
Step 1: Preheat the Oven
Preheat the oven to 350°F (175°C). Grease and flour a 9×13 inch baking pan.
Step 2: Mix the Dry Ingredients
In a bowl, mix together the all-purpose flour, baking powder, and salt until well combined.
Step 3: Beat the Eggs and Sugar
In a separate bowl, beat the eggs and sugar until light and fluffy, creating a luscious base for your cake.
Step 4: Combine Wet and Dry Ingredients
Add the milk and vanilla extract to the egg mixture, then gradually mix in the dry ingredients until just combined. Avoid over-mixing; we want to keep that fluffy texture!
Step 5: Bake the Cake
Pour the batter into the prepared pan and bake for 25-30 minutes, or until golden brown and a toothpick comes out clean. The aroma wafting from your oven will be irresistible!
Step 6: Poke Holes
Once cooled, take a fork and poke holes all over the top of the cake. This is where the magic happens; your cake will soak up all that milky goodness.
Step 7: Prepare the Milk Mixture
In a bowl, mix the evaporated milk, sweetened condensed milk, and heavy cream until well combined.
Step 8: Soak the Cake
Pour the milk mixture evenly over the cake, allowing it to soak in completely—each bite will be richer and more delightful.
Step 9: Chill the Cake
Chill the cake in the refrigerator for at least 4 hours or overnight. This step is crucial for allowing all the flavors to meld beautifully.
Step 10: Whip the Cream
Before serving, whip the heavy cream with sugar until peaks form. This fluffy topping adds a delightful contrast to the creamy cake.
Step 11: Garnish and Serve
Spread the whipped cream over the top of the cake and garnish with fresh fruit if desired. The colors and textures will make it even more enticing!
Serving Suggestions & Pairings
Tres Leches Cake is delicious on its own, but you can elevate the experience by pairing it with a warm cup of coffee or a spiced Mexican hot chocolate. At summer barbecues, it’s a refreshing treat enjoyed alongside fresh berries or when accompanied by a scoop of vanilla ice cream. The flavors meld perfectly!
Storage & Leftovers Guide
If you happen to have leftovers (which is rare!), store them covered in the refrigerator. The cake can last up to 4-5 days, though I’d recommend savoring it within the first few days for the best flavor and texture.
Kitchen Wisdom & Success Tips
- Eggs at Room Temperature: For fluffier cakes, ensure your eggs are at room temperature before beating.
- Do Not Rush the Soaking: Allowing the cake to soak adequately ensures each bite is enchantingly moist.
- Don’t Overmix: Mixing just until combined helps maintain the airy texture—overworking it can lead to a dense cake.
Flavor Variations & Adaptations
Feeling creative? Consider adding a dash of cinnamon or a splash of rum to the milk mixture for a spicy kick. You can also experiment with different toppings, such as caramel sauce or chocolate drizzle, to create your own signature twist on classic Tres Leches Cake.
Reader Questions & Solutions
-
Can I use a different pan size?
Absolutely! Just adjust the baking time accordingly—a smaller pan will take longer and a larger pan will take less time. -
What if I can’t find evaporated milk?
You can make your own by simmering regular milk until it reduces by about 60%. -
Will it still taste good if I skip the whipped cream?
Yes! The cake on its own is rich and creamy, but the whipped cream adds a lovely textural contrast. -
How long can I keep it in the fridge?
The cake stays fresh for about 4-5 days when stored properly in the fridge. -
Can I freeze Tres Leches Cake?
Yes, but it’s best to freeze it before soaking it in the milk mixture. Wrap it tightly and consume within two months for the best flavor.
Wrapping Up
As you take on this Tres Leches Cake recipe, remember that baking is an expression of love and creativity. Each layer holds the memory of countless family gatherings and joyful moments. So gather your loved ones, embark on this delightful baking journey, and create new memories that could someday inspire another generation. Happy baking!