
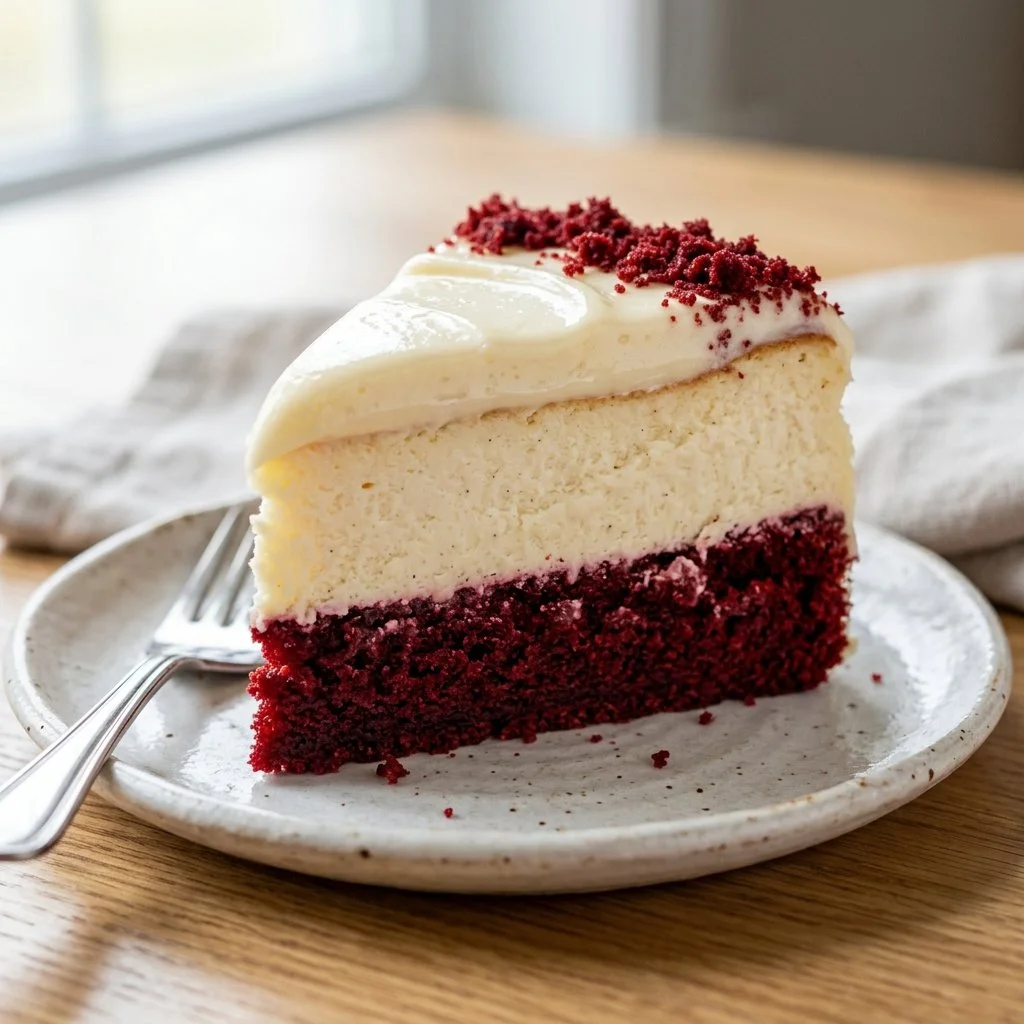
There’s something undeniably magical about cheesecake, isn’t there? The way it melts softly in your mouth, with a rich, creamy texture that beckons for just one more bite. Now, imagine infusing that magic with the vibrant allure of red velvet—a dessert that embodies celebration, passion, and sweetness. As the holiday season rolls around, or perhaps a special occasion calls for a bold statement, my Red Velvet Cheesecake stands ready to steal the show.
Picture this: a red-hued cheesecake atop a buttery graham cracker crust, layered with a tangy cream cheese filling that’s just sweet enough to please even the pickiest of taste buds. It’s one of those desserts that brings everyone together, whether you’re celebrating Valentine’s Day, hosting a birthday bash, or simply indulging on a cozy weekend at home.
Recipe Timing
- Prep Duration: 20 minutes
- Active Cooking: 70 minutes (including baking)
- Total Duration: 4 hours and 90 minutes (allowing for chilling)
- Portion Size: 10-12 servings
- Complexity: Moderate
Nutritional Recipe
- Calories per portion: Approximately 350
- Protein: 7g
- Carbs: 30g
- Fats: 23g
- Fiber: 1g
- Sugars: 18g
- Sodium: 250mg
Why You’ll Love This Red Velvet Cheesecake
This Red Velvet Cheesecake is not just visually striking; it’s a delightful mix of flavors and textures. The creamy filling is perfectly complemented by the sweet and slightly salty crust, creating a symphony of taste in every bite. The cocoa powder and red food coloring give it that classic red velvet flavor while the sour cream adds a pleasant tang that balances the sweetness. Plus, it’s versatile enough to dress up for a fancy event or keep it simple for an intimate gathering at home.
The Complete Cooking Journey
Making this cheesecake might seem daunting, but I promise it’s quite the opposite. With a bit of patience during the chilling phase, you’ll transform simple ingredients into a show-stopping dessert that’ll impress everyone around you. Let’s dive into the steps where your kitchen will be filled with warmth and delightful aromas.
Ingredients:
- 1 1/2 cups graham cracker crumbs
- 1/2 cup sugar
- 1/2 cup butter, melted
- 2 cups cream cheese, softened
- 1 cup sugar
- 1 cup sour cream
- 3 eggs
- 2 tablespoons cocoa powder
- 2 tablespoons red food coloring
- 1 teaspoon vanilla extract
- 1/4 teaspoon salt
Method:
Step 1: Preheat the Oven
Start by preheating your oven to 325°F (163°C) and greasing a springform pan. This will ensure your cheesecake comes out smoothly after it’s baked!
Step 2: Prepare the Crust
In a mixing bowl, combine 1 1/2 cups graham cracker crumbs, 1/2 cup sugar, and 1/2 cup of melted butter. Mix until everything is well combined. Press this mixture into the bottom of your prepared springform pan, ensuring even coverage.
Step 3: Beat the Cream Cheese
In another bowl, using an electric mixer, beat 2 cups of softened cream cheese with 1 cup of sugar until you achieve a smooth, creamy texture. Don’t rush this step; it’s key to a silky cheesecake.
Step 4: Add in the Ingredients
Next, add 1 cup of sour cream, 3 eggs, 2 tablespoons of cocoa powder, 2 tablespoons of red food coloring, 1 teaspoon of vanilla extract, and 1/4 teaspoon of salt. Mix everything together until fully combined. The red food coloring will turn your mixture a gorgeous crimson!
Step 5: Combine and Layer
Pour the creamy mixture over the crust in the springform pan. Spread it out evenly, making sure it looks gorgeous—after all, we eat with our eyes first!
Step 6: Bake It Up
Place the springform pan in the preheated oven and bake for 60-70 minutes. Keep an eye on it; the center should be set but just slightly wobbly.
Step 7: Cool and Chill
Once baked, remove the cheesecake from the oven and let it cool for at least an hour at room temperature. After that, refrigerate for at least 4 hours, or overnight if you can resist the temptation!
Serving Suggestions & Pairings
This cheesecake is a star on its own, but it loves to play well with others! Serve it with fresh strawberries, a drizzle of chocolate sauce, or a dollop of whipped cream. It pairs beautifully with a rich, bold coffee or a glass of sweet dessert wine.
Storage & Leftovers Guide
If you happen to have any leftovers (which I doubt!), store the cheesecake wrapped tightly in the refrigerator where it will stay fresh for up to 5 days. You can also freeze slices for up to 2 months—just make sure to wrap them well to avoid freezer burn.
Kitchen Wisdom & Success Tips
- For a smoother batter, always start with softened cream cheese—leave it out at room temperature for at least an hour before beginning.
- If the surface cracks while baking, don’t worry! A good glaze of whipped cream can cover it up beautifully, or consider dusting with cocoa powder.
- When releasing from the springform pan, run a knife around the edge before unlatching; this avoids any potential sticking.
Flavor Variations & Adaptations
Feeling adventurous? Add a hint of espresso powder to both the crust and the filling for a mocha-inspired twist or swirl in some Nutella for an extra indulgent layer. You can also experiment with different types of sugar—brown sugar can add a lovely caramel note, while coconut sugar works beautifully for a natural sweetness.
Reader Questions & Solutions
- What can I substitute for cream cheese? You can use mascarpone cheese or Greek yogurt; however, the texture will vary slightly.
- Can I make it gluten-free? Absolutely! Use gluten-free graham crackers for the crust.
- How do I know when the cheesecake is done baking? The edges should look set, but the center will still be slightly jiggly. It will firm up as it cools.
- Can I add chocolate chips? Yes, fold in some mini chocolate chips for added texture and sweetness!
- Why did my cheesecake sink? It may be due to overmixing or baking at too high a temperature. Ensure the oven is correctly calibrated and follow the mixing directions.
Wrapping Up
This Red Velvet Cheesecake is a delightful treat that’s bound to impress. It’s a perfect balance of flavors, textures, and a visual feast on any dessert table. As you prepare this dish, embrace the joy of cooking and the love of sharing delicious food with those you cherish. Now it’s your turn to create and celebrate the sweet moments in life! Happy baking!