
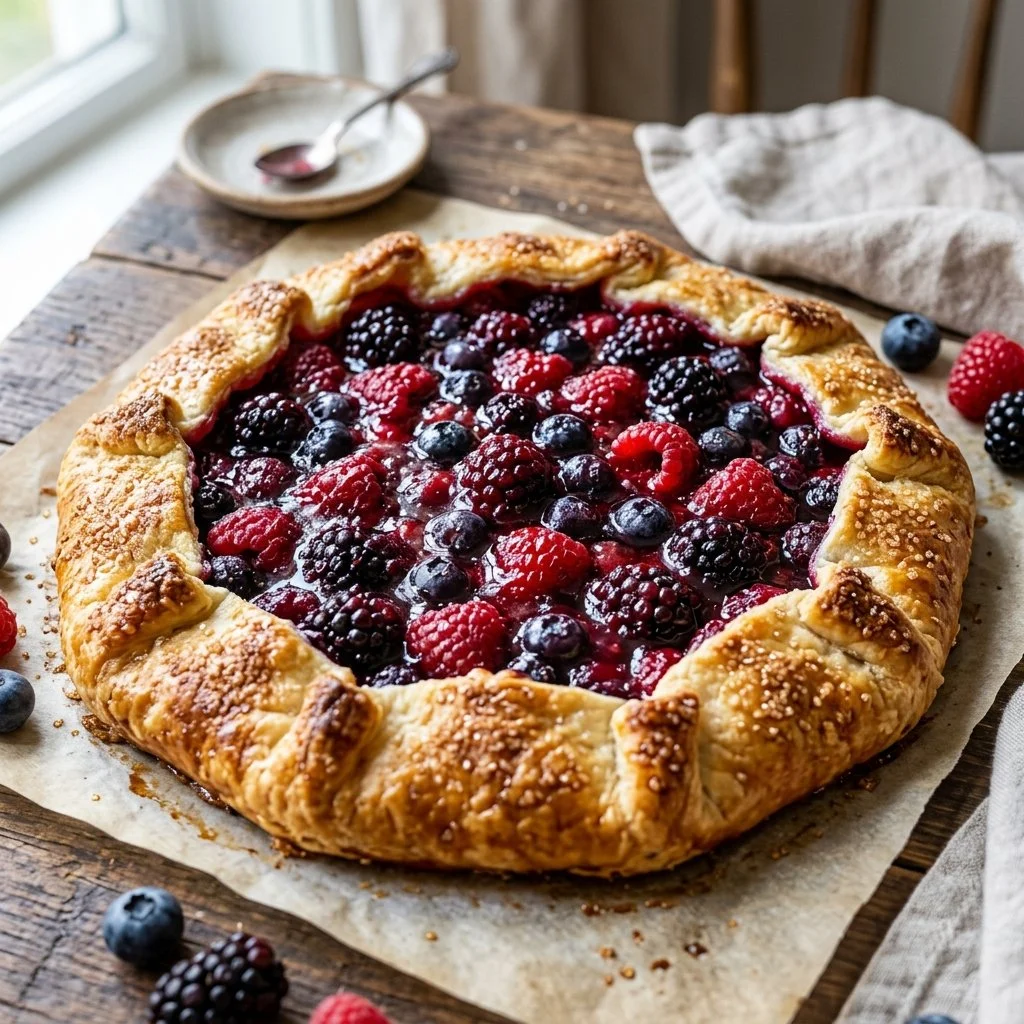
There’s something truly magical about gathering the family in the kitchen, the air filled with the sweet, tart scent of fresh berries. One particular Saturday afternoon, I decided to whip up a Mixed Berry Galette, a dish that has become a beloved staple in our home. This rustic, free-form tart isn’t just a delight for the taste buds; it’s a reminder of summer days spent berry picking, sharing laughs, and savoring the simple moments. The joy of melding different berries—strawberries, blueberries, and raspberries—into a flaky crust is not just about the dessert itself, but the memories woven through each bite.
Recipe Timing
- Prep Duration: 15 minutes
- Active Cooking: 30 minutes
- Total Duration: 45 minutes
- Portion Size: Serves 4-6
- Complexity: Simple
Nutritional Recipe
- Calories per portion: Approximately 180
- Protein: 2g
- Carbs: 26g
- Fats: 7g
- Fiber: 2g
- Sugars: 10g
- Sodium: 150mg
Why You’ll Love This Mixed Berry Galette
This Mixed Berry Galette is a showstopper, perfectly balancing the sweetness and tartness of mixed berries nestled in a buttery, flaky pie crust. It’s approachable for even the newest home bakers, inviting a delightfully rustic charm to your table. What’s more? It’s incredibly versatile—serve it warm with a scoop of vanilla ice cream or at room temperature with a dollop of whipped cream. It’s simple enough for a casual family dessert but elegant enough for an occasion.
The Complete Cooking Journey
Every galette tells a story, from the rolling of the dough to the fragrant aroma wafting through your kitchen as it bakes to golden perfection. By taking simple ingredients and combining them with love and care, you’re not just making a dessert; you’re creating an experience. So roll up your sleeves, gather your family, and let’s dive into the bliss of making this delightful treat.
Ingredients:
- 1 pie crust
- 2 cups mixed berries (such as strawberries, blueberries, and raspberries)
- 1/4 cup sugar
- 1 tablespoon cornstarch
- 1 tablespoon lemon juice
- 1 teaspoon vanilla extract
- 1 egg (for egg wash)
- 2 tablespoons butter (cut into small pieces)
Method:
Step 1: Preheating the Oven
Preheat the oven to 425°F (220°C) so the galette can bake to a glorious golden brown.
Step 2: Rolling Out the Pie Crust
Roll out the pie crust on a floured surface, gently stretching it until it’s about 12 inches in diameter. This rustic look is part of its charm!
Step 3: Preparing the Berry Filling
In a bowl, mix the mixed berries, sugar, cornstarch, lemon juice, and vanilla extract. Let the flavors mingle for a moment, then pour this berry mixture into the center of the pie crust, leaving a 2-inch border around the edge.
Step 4: Folding the Crust
Fold the edges of the crust over the berries, creating a beautiful pleated edge that hugs the filling. Don’t worry about perfection; a little rustic charm makes it all the more homey!
Step 5: Brushing the Crust
Brush the folded crust with the beaten egg for a shiny finish. If you like a touch of sweetness, sprinkle additional sugar over the crust.
Step 6: Adding Butter to the Filling
Dot the berry filling with small pieces of butter, which will melt and enrich the mixture while baking.
Step 7: Baking the Galette
Bake for 25-30 minutes or until the crust is golden and the berries are bubbling with joy. The anticipation is real!
Step 8: Cooling and Serving
Allow the galette to cool slightly before slicing it. Serve warm or at room temperature—your choice!
Serving Suggestions & Pairings
This galette shines on its own, but it also pairs wonderfully with a scoop of vanilla ice cream or a dollop of freshly whipped cream. To elevate the experience, serve it alongside a cup of herbal tea or a sparkling glass of lemonade.
Storage & Leftovers Guide
Leftover galette can be wrapped in plastic and stored in the refrigerator for up to 3 days. To reheat, pop it in a 350°F (175°C) oven for about 10 minutes to restore its crispy texture.
Kitchen Wisdom & Success Tips
- Make sure to use cold butter for a flakier crust.
- If you don’t have fresh berries, frozen berries work just as well; just be sure to thaw and drain them.
- Let the galette rest for a few minutes before slicing to help the filling set.
Flavor Variations & Adaptations
Feel free to switch up the berries based on your preferences or what’s in season. Peaches, nectarines, or even apples can create their own delicious version. You can also spice things up with a sprinkle of cinnamon or nutmeg in your berry filling!
Reader Questions & Solutions
-
Can I make the crust ahead of time?
Absolutely! You can prepare the pie crust up to 3 days in advance and keep it wrapped in the fridge. -
What if my filling is too watery?
If you find your filling is runny, consider adding a bit more cornstarch to help thicken it as it bakes. -
Can I use a store-bought crust?
Yes! A store-bought crust can save time and still yield a delicious galette. -
How do I prevent the bottom crust from getting soggy?
Pre-baking the crust for 5 minutes before adding the filling can help prevent sogginess. -
What do I do with leftovers?
Leftover galette can be refrigerated and enjoyed the next day, but I bet it won’t last long!
Wrapping Up
This Mixed Berry Galette is more than just a dessert; it’s an invitation to create memories around the table. Whether you’re sharing it with family, friends, or enjoying a quiet moment for yourself, there’s a sense of satisfaction that comes from making something beautiful from scratch. So roll up your sleeves and embrace the joy of cooking—it’s time to make your berry galette!