
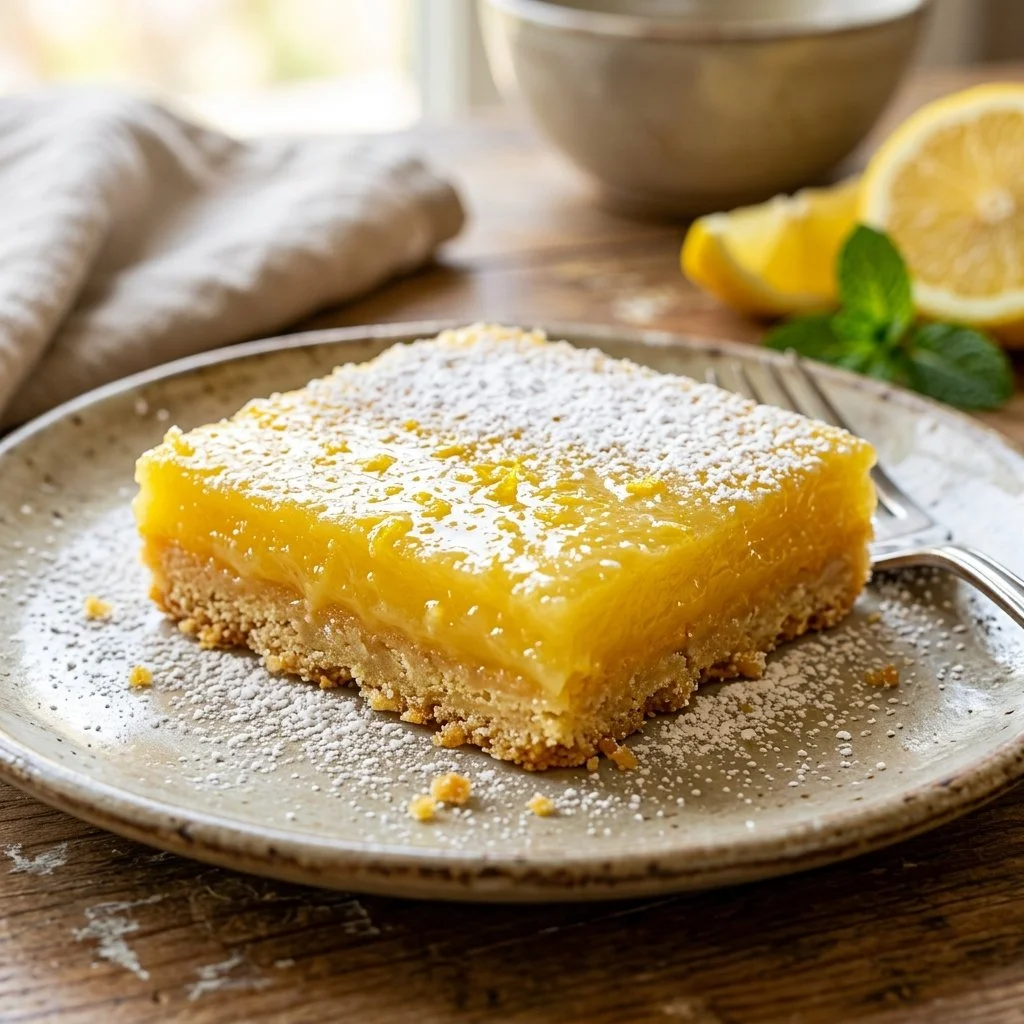
There’s something extraordinary about the first bite of a lemon bar; it’s like sunshine captured in a little square, awakening both nostalgia and joy. I vividly remember summers spent at my grandmother’s house, where she would prepare these sweet-tart treats fresh from her kitchen. The aroma of warm lemon filling wafting through the air, mingled with the buttery scent of the crust, always promised a delightful experience. Each bar held memories of laughter, family gatherings, and lazy afternoons with friends. Making lemon bars is like weaving threads of joy and tradition into a delicious tapestry, and I’m excited to share this simple yet magnificent recipe with you!
Recipe Timing
- Prep Duration: 10 minutes
- Active Cooking: 40 minutes
- Total Duration: 50 minutes
- Portion Size: 12 bars
- Complexity: Simple
Nutritional Recipe
- Calories per portion: Approximately 150
- Protein: 2g
- Carbs: 22g
- Fats: 7g
- Fiber: 0g
- Sugars: 10g
- Sodium: 60mg
Why You’ll Love This Lemon Bars
These lemon bars are the perfect harmony of sweet and tart. With a buttery crumb base that melts in your mouth and a vibrant lemon topping that’s bursting with flavor, they are a quintessential dessert for any occasion. They’re brightened with fresh lemon juice and fragrant zest, making every bite feel refreshing. Plus, they are incredibly easy to prepare; you’ll have a stunning homemade dessert to share in no time!
The Complete Cooking Journey
The journey to creating these delightful lemon bars begins with a simple dough that transforms into a buttery crust, which is then topped with a luscious lemon filling. After baking and cooling, you’ll create a dazzling presentation by dusting them with powdered sugar, making them not just delicious but gorgeous too. Each step is straightforward, allowing you to enjoy the process while perhaps listening to your favorite playlist or sipping a cup of tea.
Ingredients:
- 1 cup all-purpose flour
- 1/2 cup powdered sugar
- 1/4 cup butter, softened
- 2 large eggs
- 1 cup granulated sugar
- 1/4 cup fresh lemon juice
- 1 teaspoon lemon zest
- 1/2 teaspoon baking powder
- Pinch of salt
Method:
Step 1: Preheat the Oven
Preheat your oven to 350°F (175°C) and grease a baking dish to prevent sticking.
Step 2: Make the Crust
In a medium bowl, combine the flour and powdered sugar. Then mix in the softened butter until the mixture is crumbly. Press the mixture firmly into the bottom of the prepared baking dish to form your crust.
Step 3: Bake the Crust
Place the crust in the preheated oven and bake for 15-20 minutes until it’s lightly golden. The aroma will start to fill your kitchen, giving you a delightful preview of what’s to come!
Step 4: Prepare the Filling
While the crust is baking, grab another bowl and whisk together the eggs, granulated sugar, lemon juice, lemon zest, baking powder, and salt. This mixture should feel light and airy, with a vibrant lemony scent.
Step 5: Combine and Pour
Once the crust is ready, pour the lemon mixture over the pre-baked crust, spreading it evenly to ensure every bar is perfectly tart.
Step 6: Final Bake
Return the dish to the oven to bake for an additional 20-25 minutes, or until the lemon filling is set. This is where the magic happens, as the filling transforms into a silky layer over your crust.
Step 7: Cool and Slice
After baking, allow the lemon bars to cool completely before slicing them into squares. Dust with powdered sugar for that classic finish and a touch of elegance.
Serving Suggestions & Pairings
Lemon bars are beautifully served on their own, but they pair wonderfully with a dollop of whipped cream or a scoop of vanilla ice cream. A sprinkle of fresh berries, like blueberries or strawberries, can elevate the presentation and add a delightful flavor contrast. For a refreshing drink accompaniment, consider serving them with iced tea or sparkling lemonade.
Storage & Leftovers Guide
These lemon bars can be stored in an airtight container in the fridge for up to a week. If you want to save some for later, they freeze beautifully! Just wrap them tightly in plastic wrap and store them in the freezer for up to three months. Thaw them at room temperature before serving.
Kitchen Wisdom & Success Tips
- Room Temperature Ingredients: Ensure your butter is softened to room temperature, as it helps create that perfect crumbly crust.
- Fresh Lemons: For the best flavor, use fresh lemons for juicing and zesting rather than bottled juice.
- Don’t Overbake: Keep an eye on your lemon filling while it’s baking—overbaking can lead to a dry texture.
Flavor Variations & Adaptations
Feeling adventurous? You can experiment by adding different citrus zests like lime or orange for a refreshing twist on tradition. If you prefer a sweeter bar, consider reducing the quantity of granulated sugar slightly to balance the flavors. For a nutty twist, incorporate finely chopped almonds or walnuts into the crust mixture.
Reader Questions & Solutions
- What if my lemon bars are too tart? If you find them a bit too sour, you can add more sugar to the filling next time or serve them with sweet toppings.
- How do I know when they’re cooked properly? The lemon filling should be set but slightly wobbly in the center; it firms up as it cools.
- Can I make this recipe gluten-free? Absolutely! Use a 1:1 gluten-free flour blend in place of all-purpose flour.
- What’s the best way to cut the bars? Use a sharp knife dipped in warm water to cleanly slice through the bars without making a mess.
- Can I use bottled lemon juice instead? While fresh is best, in a pinch, you can use bottled juice. Just note that the flavor may not be as bright.
Wrapping Up
Making lemon bars is more than just a dessert; it’s about creating sweet memories and connections with those you love. As you embark on this tasty adventure, remember that cooking is about joy, experimentation, and a sprinkle of love. So don your apron, gather your ingredients, and let’s create some sunshine in the form of delectable lemon bars—because everyone deserves a little sweetness in their lives! Enjoy!