
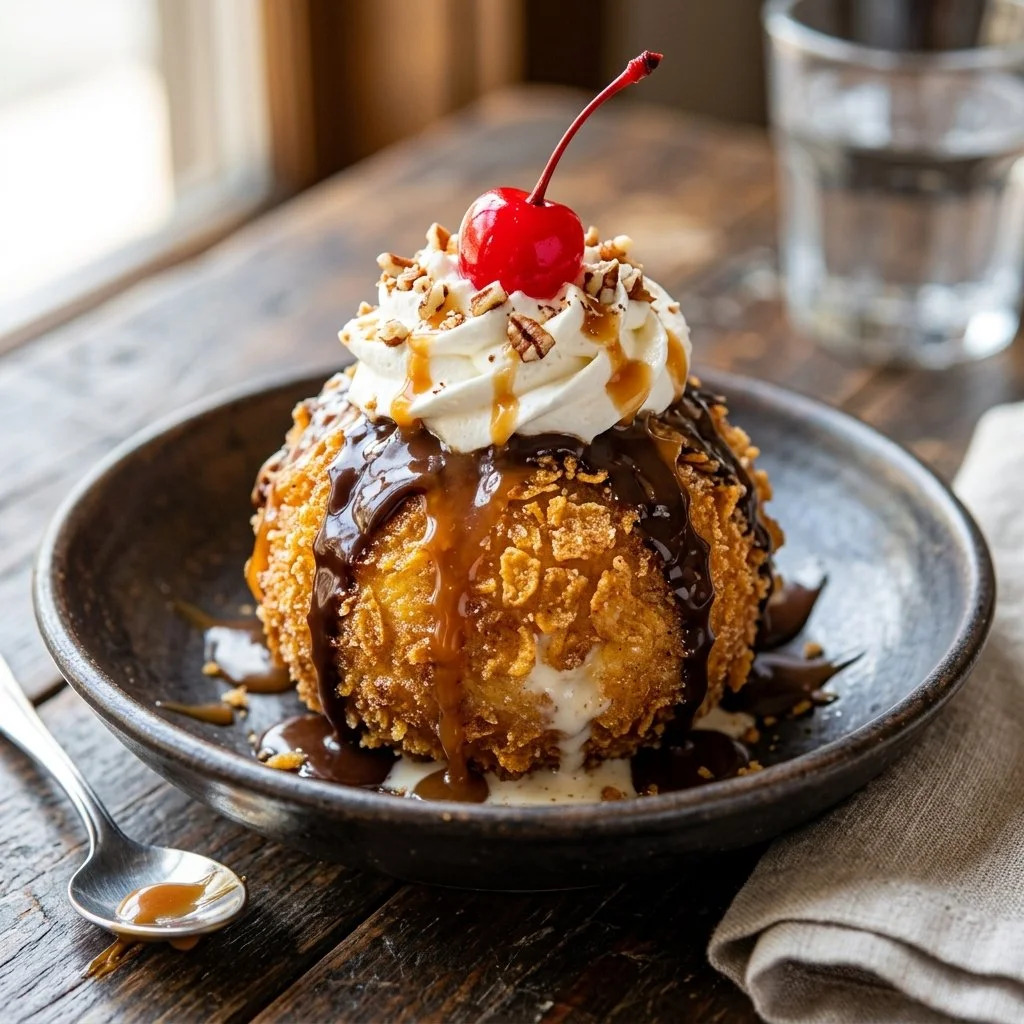
Fried ice cream holds a special place in my heart, evoking childhood memories of summer fairs, bustling ice cream shops, and family celebrations. I vividly remember the first time I saw someone frying ice cream; I was skeptical at first but couldn’t resist the allure of that golden, crispy outer shell. The moment I took a bite, my taste buds danced with joy as the warm crunch met the cold, creamy vanilla inside. Today, I want to share this delightful treat with you, transforming the unusual into a beloved home kitchen staple. Grab your aprons, and let’s dive into the world of fried ice cream!
Recipe Timing
- Prep Duration: 15 minutes
- Active Cooking: 10 minutes
- Total Duration: 2 hours 25 minutes (includes freezing time)
- Portion Size: Serves 4
- Complexity: Simple
Nutritional Recipe
- Calories per portion: Approximately 360
- Protein: 5 grams
- Carbs: 41 grams
- Fats: 20 grams
- Fiber: 1 gram
- Sugars: 14 grams
- Sodium: 200 mg
Why You’ll Love This Fried Ice Cream
This fried ice cream combines the best of both worlds: the warmth of a crispy exterior and the delightful chill of creamy vanilla ice cream. It’s the perfect dessert for when you’re entertaining guests or just treating yourself after a long day. The contrast of textures is sensational, and you can personalize it with different toppings like chocolate syrup or honey. You’ll be amazed at how quickly this recipe comes together and how it will impress your family and friends!
The Complete Cooking Journey
Now that I’ve whetted your appetite with a little backstory, let’s get into the nitty-gritty of making this spectacular dessert. Follow along, and you’ll have yourself a delightful culinary experience that will have everyone asking for seconds!
Ingredients:
- 1 pint vanilla ice cream
- 1 cup cornflakes, crushed
- 1 cup all-purpose flour
- 2 eggs
- 1/4 cup milk
- 1 teaspoon vanilla extract
- Vegetable oil for frying
- Chocolate syrup or honey for drizzling
Method:
Step 1: Freeze the Ice Cream Balls
Scoop the vanilla ice cream into balls and freeze them for at least 2 hours until firm. This step ensures that your ice cream won’t melt immediately when fried.
Step 2: Prepare the batter
In a bowl, mix the flour, eggs, milk, and vanilla extract to make a batter. Whisk until smooth, ensuring there are no lumps to get the right consistency.
Step 3: Coat with Cornflakes
Roll each ice cream ball in the crushed cornflakes, then dip into the batter, and roll in cornflakes again for an extra layer of crunch. This double coating adds to the delightful texture when you take a bite.
Step 4: Heat the Oil
Heat vegetable oil in a deep frying pan. The oil should be hot enough so that a breadcrumb dropped in it sizzles, indicating it’s ready for frying.
Step 5: Fry the Ice Cream
Carefully fry the coated ice cream balls for about 5-10 seconds until golden brown. Keep a close eye on them, as they fry quickly!
Step 6: Drain Excess Oil
Remove the fried ice cream balls and drain them on paper towels, letting the excess oil absorb and leaving you with a perfectly crispy exterior.
Step 7: Serve with Drizzle
Serve immediately, drizzled with chocolate syrup or honey. This finishing touch adds sweetness and a bit of elegance to your presentation.
Serving Suggestions & Pairings
To elevate your fried ice cream experience, consider serving it alongside fresh fruit — think strawberries, bananas, or a medley of berries that complement the sweet vanilla flavor. For a truly indulgent moment, pair it with a rich cup of coffee or hot chocolate for contrast.
Storage & Leftovers Guide
While fried ice cream is best enjoyed fresh, if you have leftovers, store them in an airtight container in the freezer. However, be aware that the texture may not hold up as well after freezing. I recommend consuming them within a day or two for the best experience!
Kitchen Wisdom & Success Tips
- Work Quickly: The key to a successful fried ice cream is to work quickly to prevent the ice cream from melting, so have everything prepared ahead of time.
- Temperature Check: Make sure your oil is hot enough before frying. A kitchen thermometer helps to maintain the right frying temperature (about 360°F).
- Coating Variations: Feel free to experiment with different toppings or coatings for your ice cream balls, such as crushed nuts or sweetened coconut.
Flavor Variations & Adaptations
Want to mix things up? Try using different flavors of ice cream, like chocolate or strawberry, for a twist. You can also experiment with flavored syrups, like caramel or strawberry, or dust the fried ice cream with cinnamon sugar for an extra kick.
Reader Questions & Solutions
-
Can I use other types of cereal instead of cornflakes?
Absolutely! Try using crushed Rice Krispies or even graham crackers for a unique twist. -
What should I do if my ice cream balls are melting too fast?
If they are melting too quickly, make sure to keep them in the freezer until you’re ready to fry. You can even refreeze them briefly before frying. -
Is it necessary to double coat with cornflakes?
While double coating adds extra crunch, a single coat will still yield delicious results. Do what feels best for you! -
Can I make this recipe in advance?
You can prepare the ice cream balls and coat them in cornflakes ahead of time, then freeze until you’re ready to fry. -
What oil works best for frying?
Vegetable oil is great, but you can also use canola or peanut oil for frying, as they have high smoke points.
Wrapping Up
There you have it! A fun and fantastical creation that is surprisingly easy to make and sure to impress. With just a few simple ingredients and some quick steps, you can delight yourself and others with this whimsical dessert. So, gather your ingredients, and embrace the joy of cooking. Remember, it’s not just about the food; it’s about making memories in the kitchen. Happy cooking!