
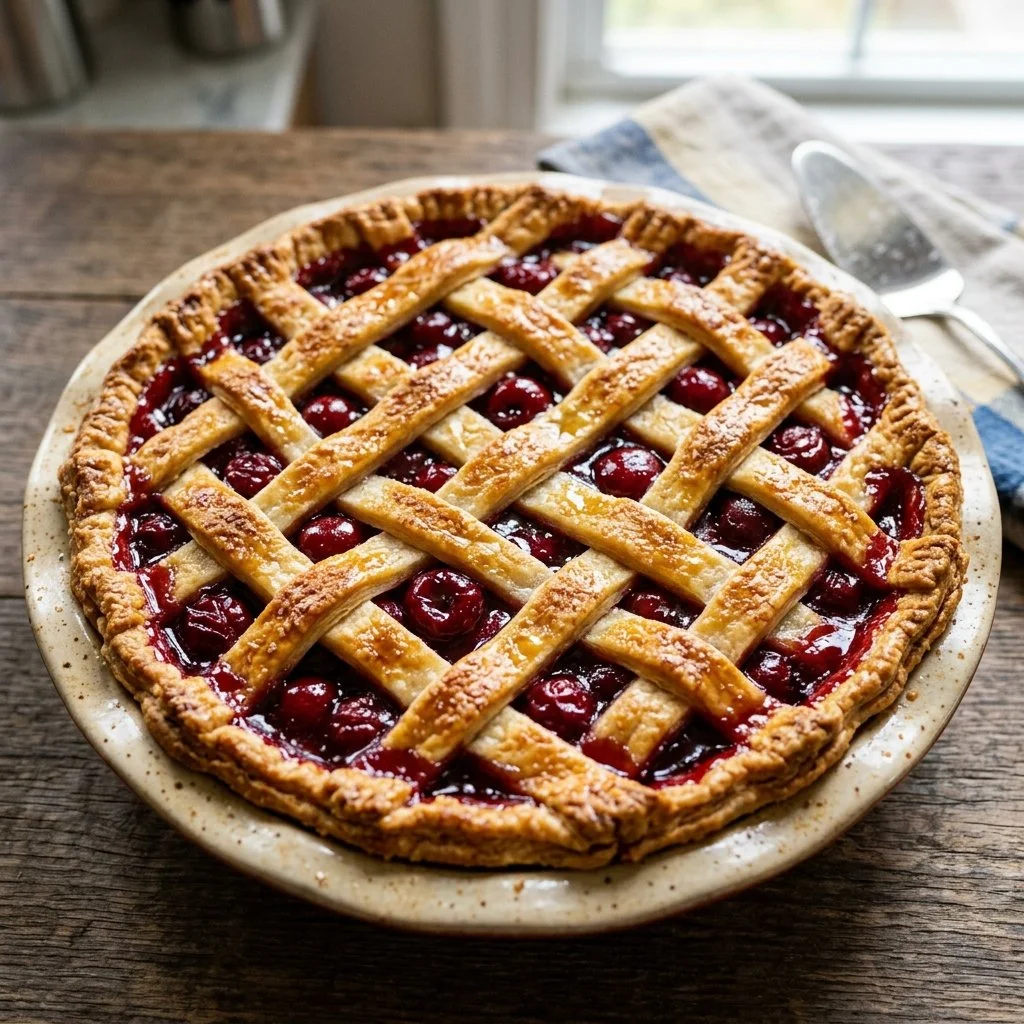
Have you ever bitten into a slice of cherry pie and felt transported back to simpler times—perhaps your grandmother’s kitchen, where the air was thick with the sweet aroma of baked fruit and buttery crust? There’s something magic about the vibrant, jewel-toned cherries nestled in a flaky crust, which not only tantalizes your taste buds but also warms your heart. As I tucked into my first slice of cherry pie, I was reminded of summer picnics, gatherings with family, and lazy afternoons on the porch, a scoop of vanilla ice cream melting beside it. I invite you to join me on this delightful journey as we create our own cherry pie, filled with memories, love, and a pinch of nostalgia.
Recipe Timing
- Prep Duration: 15 minutes
- Active Cooking: 15 minutes
- Total Duration: 40-45 minutes
- Portion Size: Serves 8
- Complexity: Simple
Nutritional Recipe
- Calories per portion: Approximately 250
- Protein: 2 g
- Carbs: 36 g
- Fats: 10 g
- Fiber: 2 g
- Sugars: 12 g
- Sodium: 150 mg
Why You’ll Love This Cherry Pie
This cherry pie is the quintessential dessert that perfectly marries sweet and tart flavors. Whether you’re using fresh or frozen cherries, the result is a delectable filling that bursts with juicy goodness. The golden brown crust provides a satisfying contrast, making each bite a delightful experience. Plus, the simplicity of this recipe allows anyone to recreate this classic treat without fuss—just a few ingredients, a bit of time, and you’re set for a dessert that’s sure to impress!
The Complete Cooking Journey
Let’s dive into your adventure-making cherry pie. From the first step of preheating your oven to the moment you slice into that beautifully baked dessert, we’re here to revel in this sweet process together.
Ingredients:
- 2 cups fresh or frozen cherries
- 1 cup sugar
- 2 tablespoons cornstarch
- 1 tablespoon lemon juice
- 1/4 teaspoon salt
- 1 tablespoon butter
- 1 pie crust (homemade or store-bought)
- 1 egg (optional, for egg wash)
Method:
Step 1: Preheat the Oven
Preheat your oven to 425°F (220°C). This ensures that your pie crust gets that beautifully golden color and bakes evenly.
Step 2: Prepare the Cherry Filling
In a saucepan, combine the cherries, sugar, cornstarch, lemon juice, and salt. Cook over medium heat until the mixture starts to thicken and bubble. Once it’s thickened, remove from heat and let it cool. The aroma of the cooking cherries will fill your kitchen and have everyone asking what’s for dessert!
Step 3: Assemble the Pie Crust
Place the pie crust in a pie dish. Pour the cherry mixture into the crust and dot with bits of butter. This little extra touch will add richness and depth to the filling.
Step 4: Top with Second Crust or Lattice
Cover the pie with a second pie crust or create a lovely lattice top. Crimp the edges to seal everything in deliciousness. It’s okay if it’s not perfect; remember, rustic is in!
Step 5: Optional Egg Wash
(Optional) Brush the top crust with an egg wash for a shiny, golden finish that will make your pie look like it’s straight out of a bakery display.
Step 6: Bake to Perfection
Bake for 25-30 minutes or until the crust is golden brown. As it bakes, you’ll start to see those delightful cherry juices bubbling up through the crust—talk about mouthwatering!
Step 7: Let Cool Before Serving
Let the pie cool for a bit before serving. This will allow the filling to set properly, making it easier to slice and serve.
Serving Suggestions & Pairings
Slice into your delicious cherry pie and serve it warm or at room temperature. Enhance the experience by pairing it with a scoop of vanilla ice cream or a dollop of freshly whipped cream. A drizzle of chocolate sauce or a sprinkle of chopped nuts can really elevate the presentation. This pie is perfect for summer picnics, birthday celebrations, or cozy family dinners.
Storage & Leftovers Guide
Leftover cherry pie can be stored in the refrigerator for 3-4 days. Just cover it with plastic wrap or aluminum foil. If you’d like to freeze it, wrap the pie tightly in freezer-safe wrap and it will last for up to 3 months. When you’re ready to enjoy it again, thaw in the refrigerator overnight and reheat in a warm oven.
Kitchen Wisdom & Success Tips
- Choose Your Cherries: Fresh cherries give great flavor, but frozen cherries work perfectly too—just make sure to thaw and drain excess liquid.
- Cornstarch Magic: Adding cornstarch helps thicken the filling so it holds together nicely when sliced.
- Avoid Soggy Bottoms: If you’re worried about a soggy bottom crust, consider pre-baking it for a few minutes before filling.
- Keep it Cool: Don’t skip letting your pie cool before serving; this helps with cutting neat slices.
Flavor Variations & Adaptations
Feel free to play around! Add a sprinkle of cinnamon for warmth, a splash of almond extract for a hint of nuttiness, or mix in some blueberries for a berry medley. For a bit of tartness, add a touch more lemon juice.
Reader Questions & Solutions
- What if I can’t find fresh cherries?
Use frozen cherries! They work beautifully in this recipe. - What if my cherries are too tart?
Add a bit more sugar, or consider sweetening them with honey or maple syrup. - How can I tell when the pie is done?
Look for a golden-brown crust and simmering juices. It should smell heavenly! - How do I prevent the top crust from burning?
If the edges are browning too quickly, cover them with foil during baking. - Can I make this pie gluten-free?
Absolutely! Substitute the pie crust with a gluten-free option and your filling will work perfectly.
Wrapping Up
As your kitchen fills with the smell of baked cherry pie, take a moment to reflect on the love and memories you’re creating through cooking. This cherry pie isn’t just a dessert; it’s a sweet slice of life. So gather your loved ones, share a piece, and bask in the joy that only home-baked treats can bring. Happy baking!