
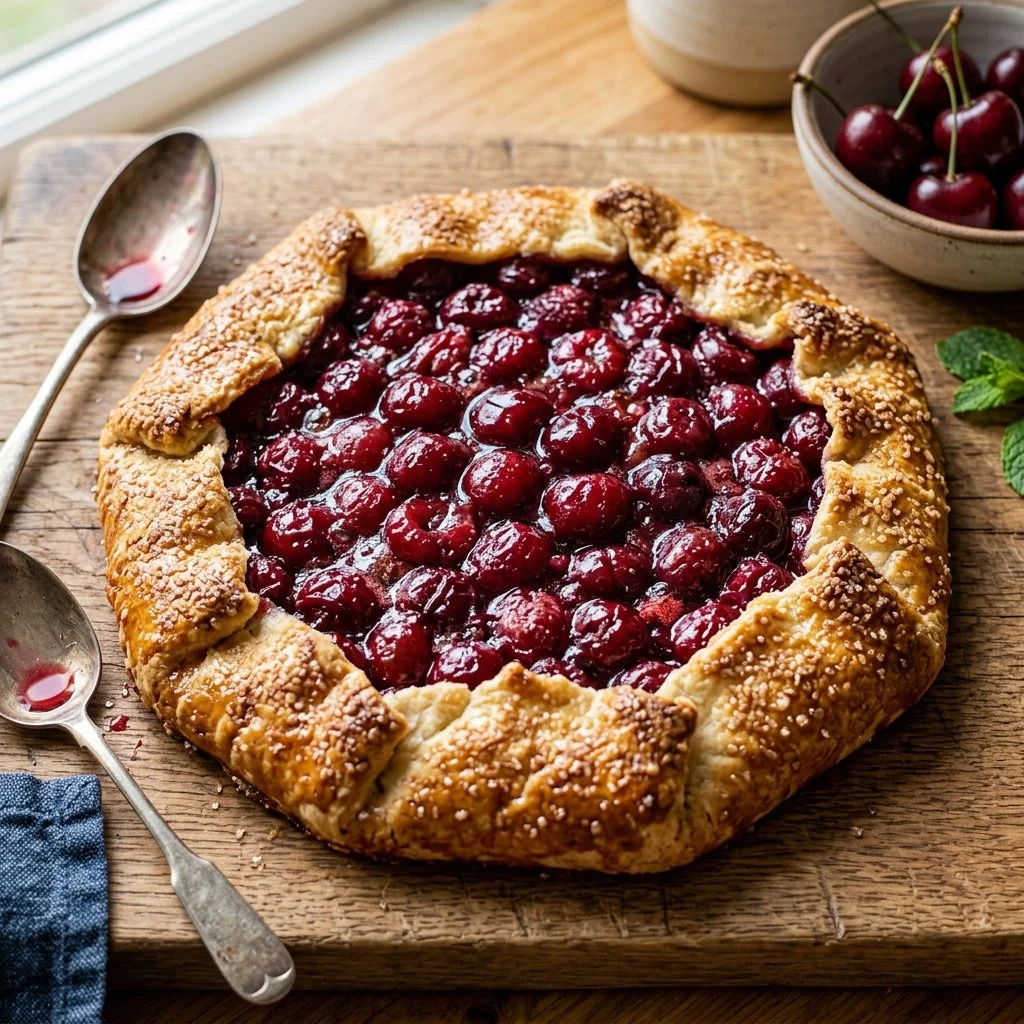
When I think about summertime, my mind drifts to the vibrant colors of fruits at their peak, but nothing quite compares to the allure of fresh cherries. There’s something magical about biting into a juicy cherry, the sweet nectar bursting free, instantly transporting me back to my grandmother’s backyard where the cherry trees stood tall. I can smell the warm sun on the fruit and hear laughter and chatter as we gather for our annual cherry-picking day. With a basket hanging over my arm, I’d pluck the ripest cherries, dreaming about the dessert that would follow—a cherry galette.
This galette is a nod to those golden days, easy to make yet grand enough for a celebration. With just a few simple ingredients, it transforms fresh cherries into a dessert that sings of summer’s sweet symphony. So, dust off that pie crust because I’m about to share my cherry galette recipe, one that will surely create memories in the kitchen!
Recipe Timing
- Prep Duration: 15 minutes
- Active Cooking: 30 minutes
- Total Duration: 45 minutes
- Portion Size: Serves 6
- Complexity: Simple
Nutritional Recipe
- Calories per portion: Approximately 220
- Protein: 2g
- Carbs: 35g
- Fats: 9g
- Fiber: 1g
- Sugars: 18g
- Sodium: 100mg
Why You’ll Love This Cherry Galette
This cherry galette is truly a celebration of flavors, highlighting the sweet and slightly tart cherries nestled within a flaky, buttery crust. It’s rustic yet elegant, making it the perfect dessert for both casual family dinners and festive gatherings. The combination of vanilla and almond adds depth to the cherry filling, while the coarse sugar on top gives a delightful crunch. Not to mention, it feels wonderfully satisfying to serve a beautiful pie with minimal effort. Who wouldn’t love that?
The Complete Cooking Journey
Let me guide you through the joyful process of making this delicious cherry galette, where it’s all about embracing the simplicity and the beauty of cooking.
Ingredients:
- 2 cups fresh cherries, pitted
- 1/2 cup sugar
- 1 tablespoon cornstarch
- 1 teaspoon vanilla extract
- 1/4 teaspoon almond extract
- 1 pinch salt
- 1 pie crust
- 1 egg (for egg wash)
- 1 tablespoon coarse sugar (for topping)
Method:
Step 1: Preheat the Oven
Preheat the oven to 400°F (200°C) to get things nice and hot for our galette.
Step 2: Prepare the Cherry Filling
In a bowl, combine the fresh cherries, sugar, cornstarch, vanilla extract, almond extract, and a pinch of salt. Stir gently to coat the cherries, letting the sweetness and warmth of the extracts mingle with their natural flavor.
Step 3: Roll Out the Pie Crust
Take your pie crust and roll it out on a baking sheet, allowing it to form a nice foundation for your cherry filling.
Step 4: Assemble the Galette
Pour the cherry mixture onto the center of the rolled-out crust. Leave a couple of inches space around the edges, then gently fold the edges of the crust over the cherries, creating a beautiful rustic border.
Step 5: Apply the Egg Wash
Beat the egg and brush it over the crust for a golden finish. Finish by sprinkling coarse sugar on top, which will give it a lovely caramelized look and texture.
Step 6: Bake to Perfection
Bake in the preheated oven for 25-30 minutes, until the crust is golden brown and the filling is bubbly, filling your kitchen with the heavenly scent of cherries baking.
Step 7: Allow to Cool
Let your galette cool for a bit before slicing it up. This will allow the juices to settle and make for cleaner slices.
Serving Suggestions & Pairings
This cherry galette is delightful on its own, but pair it with a scoop of vanilla ice cream or a dollop of freshly whipped cream for an unforgettable treat. A drizzle of caramel sauce takes it to the next level. Serve it at summer barbecues or as a comforting dessert for family gatherings.
Storage & Leftovers Guide
Store any leftovers in an airtight container in the refrigerator for up to 2 days. You can also reheat leftovers in the oven for a few minutes to revive that just-baked taste.
Kitchen Wisdom & Success Tips
- Ensure your cherries are pitted properly; a simple cherry pitter works wonders.
- If you don’t have fresh cherries, frozen ones can work as a substitute—just be sure to thaw and drain them first.
- Homemade pie crust elevates this galette, but store-bought is a fantastic time-saver.
Flavor Variations & Adaptations
Feeling adventurous? Try adding a sprinkle of cinnamon to the cherry mixture for a warm spice kick or blend in sliced almonds for an added crunch. You could even swap half of the cherries for blueberries or peaches for a seasonal twist.
Reader Questions & Solutions
-
Why is my crust soggy?
Make sure to roll out the crust thinly and avoid overfilling it with the cherry mixture. Letting the galette cool before serving also helps. -
Can I use frozen cherries?
Yes, frozen cherries work well! Just ensure they’re thawed thoroughly, and drain excess liquid before mixing. -
How do I prevent the cherries from burning?
If they begin to brown too quickly, cover the edges of the crust with foil midway through baking. -
Is it necessary to use cornstarch?
Cornstarch helps to thicken the juices and prevent the crust from becoming soggy. You can use flour as an alternative. -
What can I do if I don’t have almond extract?
You can omit it or substitute with an equal amount of vanilla extract for enhanced vanilla flavor.
Wrapping Up
This cherry galette is more than just a recipe; it’s a chance to create beautiful memories with loved ones in the kitchen. Whether you’re savoring a slice alone or sharing it with friends on a sunny afternoon, each bite is a reminder of the joy that simple ingredients can bring. So grab those fresh cherries, roll out that crust, and let’s make a little magic happen together! Happy baking!