
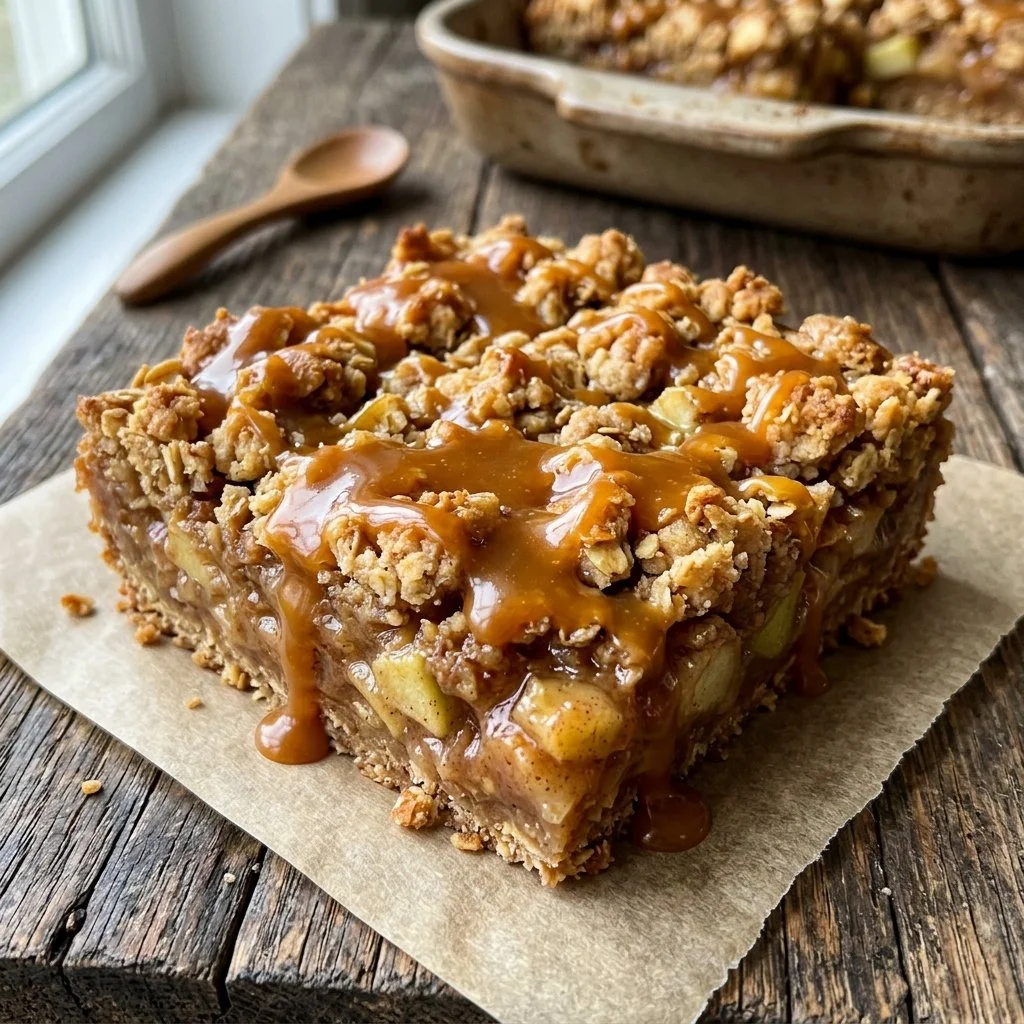
There’s something almost magical about the scent of caramel and cinnamon wafting through your kitchen. As a child, every fall brought the delightful aroma of my grandmother’s caramel apple desserts, filling our home with warmth and anticipation. I can still picture her mixing the ingredients, the kitchen buzzing with excitement as everyone gathered around, eager to steal a taste of her creations. Today, I want to share that same warmth and sweet nostalgia with you through my Caramel Apple Bars. They’re perfect for crisp autumn days or whenever you need a little pick-me-up.
Recipe Timing
- Prep Duration: 15 minutes
- Active Cooking: 30 minutes
- Total Duration: 45 minutes
- Portion Size: 12-16 bars
- Complexity: Simple
Nutritional Recipe
- Calories per portion: Approximately 300
- Protein: 2g per serving
- Carbs: 45g per serving
- Fats: 13g per serving
- Fiber: 1g per serving
- Sugars: 25g per serving
- Sodium: 150mg per serving
Why You’ll Love This Caramel Apple Bars
These Caramel Apple Bars are the ultimate dessert for anyone who loves the delightful combination of sweet and tart flavors. With succulent, diced apples nestled within a rich, buttery layer, each bite is a celebration of the season. The caramel sauce weaves through these bars, elevating them to a creamy, decadent treat that beckons for a scoop of vanilla ice cream on the side! Trust me, once you take a bite, you’ll be transported back to those cherished memories of gathering around the hearth, sharing stories and making more memories.
The Complete Cooking Journey
We all know that the path to culinary glory can start with a simple step—and this journey is no different. Whipping up these bars is as easy as pie (pun intended!), and in just a few simple steps, you’ll have a heavenly dessert ready to wow your family and friends.
Ingredients:
- 1 cup unsalted butter, softened
- 1 cup brown sugar
- 2 cups all-purpose flour
- 1 teaspoon baking powder
- 1/2 teaspoon salt
- 2 cups peeled and diced apples
- 1 cup caramel sauce
- 1 teaspoon vanilla extract
- 1 teaspoon cinnamon
Method:
Step 1: Preheat Your Oven and Prepare the Dish
Preheat the oven to 350°F (175°C). Grease and line a 9×13 inch baking dish with parchment paper. This will not only prevent sticking but will also make it easy to lift the bars out for perfect slicing later.
Step 2: Cream Together Butter and Sugar
In a mixing bowl, using an electric mixer or a wooden spoon, cream together the softened butter and brown sugar until the mixture is light and fluffy. This step is crucial as it adds air to the batter and helps create a nice, tender crumb.
Step 3: Combine Dry Ingredients
In another bowl, combine the all-purpose flour, baking powder, and salt. Mix these dry ingredients together so they’re evenly distributed, which helps avoid any clumps in your batter.
Step 4: Bring It All Together
Gradually stir the dry ingredient mixture into the buttery sugar mixture until well combined. Be careful not to overmix; you want your batter to stay airy and light.
Step 5: Add Apples and Caramel
Fold in those juicy, diced apples, caramel sauce, vanilla extract, and cinnamon. This is where the magic begins! The caramel will bring a rich layer of sweetness that contrasts perfectly with the tartness of the apples.
Step 6: Spread and Bake
Pour the thick batter into the prepared baking dish and spread it out evenly. Bake in the preheated oven for 25-30 minutes, or until a toothpick inserted in the center comes out clean. Your kitchen will start smelling heavenly right about now!
Step 7: Cool and Cut
Once baked, remove the bars from the oven and allow them to cool in the pan for about 10-15 minutes. Then, lift them out using the parchment paper and let them cool completely on a wire rack before cutting them into squares.
Serving Suggestions & Pairings
These Caramel Apple Bars are delicious on their own, but they reach new heights when served warm with a scoop of vanilla ice cream or drizzled with extra caramel sauce. Pair them with a cup of hot apple cider or spiced chai tea for a cozy afternoon treat.
Storage & Leftovers Guide
Store your Caramel Apple Bars in an airtight container at room temperature for up to 3 days. If you want to keep them fresher for longer, you can refrigerate them for up to a week. Just make sure to bring them to room temperature before serving for that soft, gooey goodness!
Kitchen Wisdom & Success Tips
- Make sure to use firm, tart apples for a balanced flavor; Granny Smith and Honeycrisp work beautifully.
- For a nutty twist, consider folding in ½ cup of chopped walnuts or pecans alongside the apples.
- If you’re short on time, you can make the batter ahead of time and refrigerate it before baking.
Flavor Variations & Adaptations
Feel free to experiment with the spices! Add a pinch of nutmeg for warmth, or swap out the vanilla for almond extract for a different flavor profile. You can also make a gluten-free version by substituting the all-purpose flour with your favorite gluten-free flour blend.
Reader Questions & Solutions
- Can I use store-bought caramel sauce? Absolutely! A store-bought caramel saves time and works perfectly in this recipe.
- What if I don’t have a 9×13 inch pan? You can use two 8-inch square pans or even a round cake pan; just adjust baking times as necessary.
- How do I know when the bars are done? Insert a toothpick in the center; if it comes out clean or with just a few crumbs, they are ready!
- Can I freeze the bars? Yes! You can freeze them tightly wrapped for up to 3 months. Thaw overnight in the fridge before enjoying.
- Can I replace butter with oil or margarine? While you could, butter gives these bars their rich flavor. If you must, use a mild-flavored oil and adjust accordingly.
Wrapping Up
There you have it—sweet, comforting Caramel Apple Bars that are not only easy to make but are bound to become a family favorite! The way they melt in your mouth with every bite will have your loved ones gathered around the kitchen table, just like I remember. Happy baking, and may your kitchen be filled with joy and laughter!