
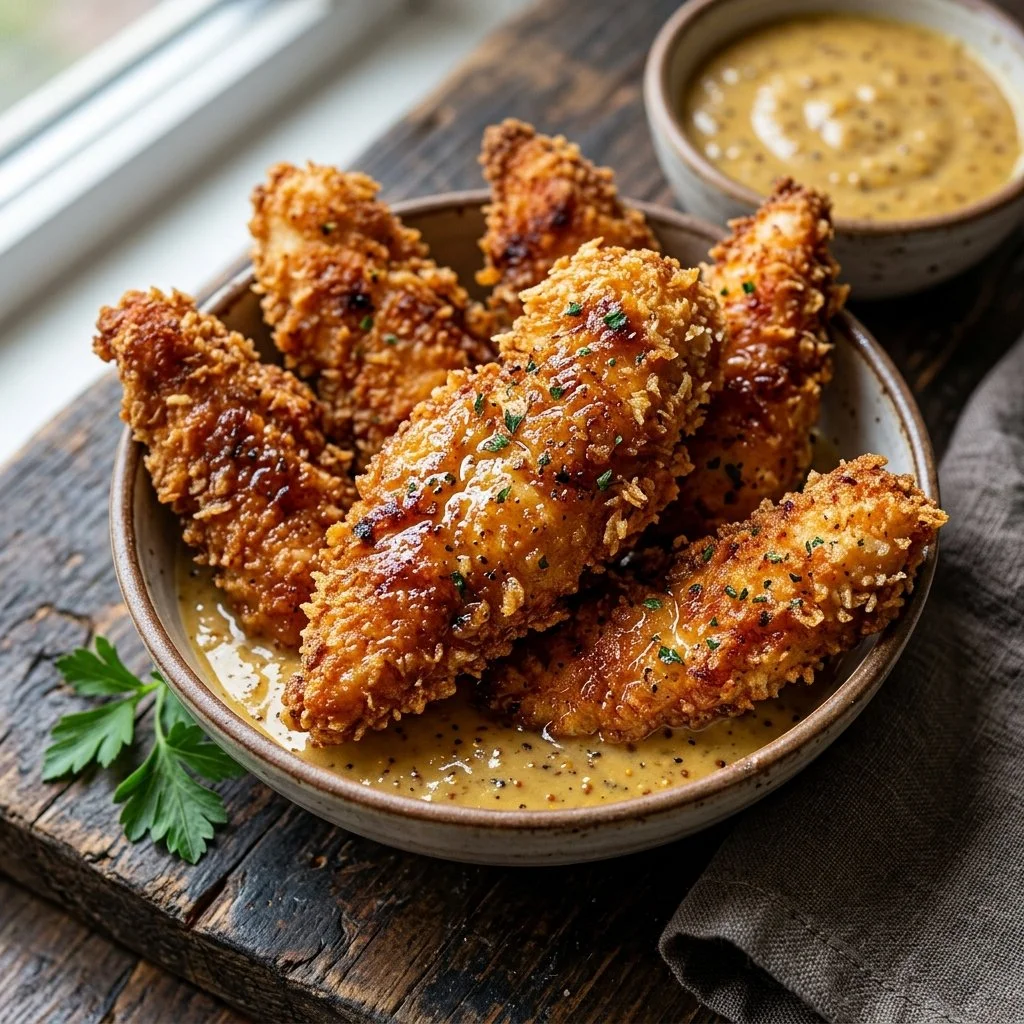
There’s something undeniably nostalgic about biting into a perfectly baked chicken tender. It transports me back to countless family dinners where crispy, golden pieces of chicken would steal the show, accompanied by a steaming plate of homemade mashed potatoes and fresh greens. The laughter around the table, the clinking of forks, and the warm aroma of a home-cooked meal evoke memories that make my heart swell. Today, I want to share with you my simple method for creating these delightful, baked chicken tenders that are not only kid-friendly but also perfect for impressing guests.
Recipe Timing
- Prep Duration: 15 minutes
- Active Cooking: 25 minutes
- Total Duration: 40 minutes
- Portion Size: Serves 4
- Complexity: Simple
Nutritional Recipe
- Calories per portion: Approximately 280 kcal
- Protein: 28 grams
- Carbs: 15 grams
- Fats: 12 grams
- Fiber: 1 gram
- Sugars: 0 grams
- Sodium: 400 mg
Why You’ll Love This Baked Chicken Tenders
These baked chicken tenders are a delightful blend of crunch and flavor, making them a beloved staple in any household. They offer a healthier twist on the traditional fried version while still delivering that satisfying crunch we all crave. Plus, with the flavorful combination of garlic powder, paprika, and Parmesan, each tender is wrapped in a golden crust that’s simply irresistible. Serve them with your favorite dipping sauce, and you have the ultimate comfort food that will leave you wanting more.
The Complete Cooking Journey
Let’s embark on a culinary adventure together, where each step is designed to take you closer to that perfect, crunchy, and juicy baked chicken tender.
Ingredients:
- 1 lb chicken breast tenders
- 1 cup breadcrumbs
- 1/2 cup grated Parmesan cheese
- 1 teaspoon garlic powder
- 1 teaspoon paprika
- Salt and pepper to taste
- 1 egg
- 1 tablespoon olive oil
Method:
Step 1: Preheat the Oven
Start by preheating your oven to 400°F (200°C). This is the first step to creating that crispy texture we all love.
Step 2: Prepare the Coating Mixture
In a large mixing bowl, combine the breadcrumbs, grated Parmesan cheese, garlic powder, paprika, salt, and pepper. This mixture will give the tenders their flavor-packed coating.
Step 3: Beat the Egg with Olive Oil
In another bowl, beat the egg with olive oil together until combined. This will help our coating stick perfectly to the chicken.
Step 4: Coat the Chicken Tenders
Take each chicken tender and dip it into the egg mixture, allowing any excess to drip off. Then, transfer it to the breadcrumb mixture, turning until it’s well-coated. Repeat this process until all the tenders are coated in that flavorful crunch.
Step 5: Arrange on a Baking Sheet
Place the coated chicken tenders on a baking sheet lined with parchment paper. This not only makes cleanup a breeze but also prevents the tenders from sticking.
Step 6: Bake to Golden Perfection
Pop the baking sheet into the oven and bake for 20-25 minutes or until the chicken tenders are golden brown and cooked through. Make sure to flip them halfway through to ensure even cooking.
Step 7: Serve & Enjoy
Once baked, serve your crispy chicken tenders warm with your favorite dipping sauce. A homemade ranch or tangy barbecue sauce pairs beautifully with these treats!
Serving Suggestions & Pairings
These baked chicken tenders are versatile and can be served as a main dish or as appetizers. Pair them with a crisp side salad, baked sweet potato fries, or classic coleslaw for a complete meal. They also work wonderfully in wraps or on top of a bed of greens for a fresh take.
Storage & Leftovers Guide
Store any leftover chicken tenders in an airtight container in the refrigerator, where they’ll last for up to 3 days. To reheat, place them back in the oven at 350°F (175°C) for about 10 minutes for that fresh-out-of-the-oven crispiness.
Kitchen Wisdom & Success Tips
- Ensure your chicken tenders are patted dry before coating for maximum crunch.
- For a gluten-free option, substitute the breadcrumbs with crushed gluten-free cereal or almond flour.
- Experiment with spices by adding some cayenne pepper for a kick or Italian herbs for a twist.
Flavor Variations & Adaptations
Feel free to switch up the cheeses in the breadcrumb mixture or add herbs like dried oregano or thyme. For a zesty touch, sprinkle some lemon zest into the breading.
Reader Questions & Solutions
- How do I know when the chicken tenders are fully cooked? Use a meat thermometer; chicken should reach an internal temperature of 165°F (74°C).
- Can I freeze the chicken tenders? Yes, freeze them before baking. Just lay them flat on a baking sheet to freeze individually, then store in a freezer bag for up to 2 months.
- What can I use instead of Parmesan cheese? Try using pecorino cheese or nutritional yeast for a dairy-free alternative.
- How can I make these tenders spicier? Add chili powder or hot sauce to the egg mixture for an extra kick!
- Can I use thighs instead of chicken tenders? Absolutely! Just adjust the cooking time as thighs may take a few extra minutes compared to tenders.
Wrapping Up
There’s something so satisfying about preparing your very own baked chicken tenders at home. The crunchy texture, the burst of flavor, and the joyful moments they bring to the table make them a standout dish. I encourage you to try this recipe and bask in the praises of your loved ones as they savor each bite. Happy cooking!