
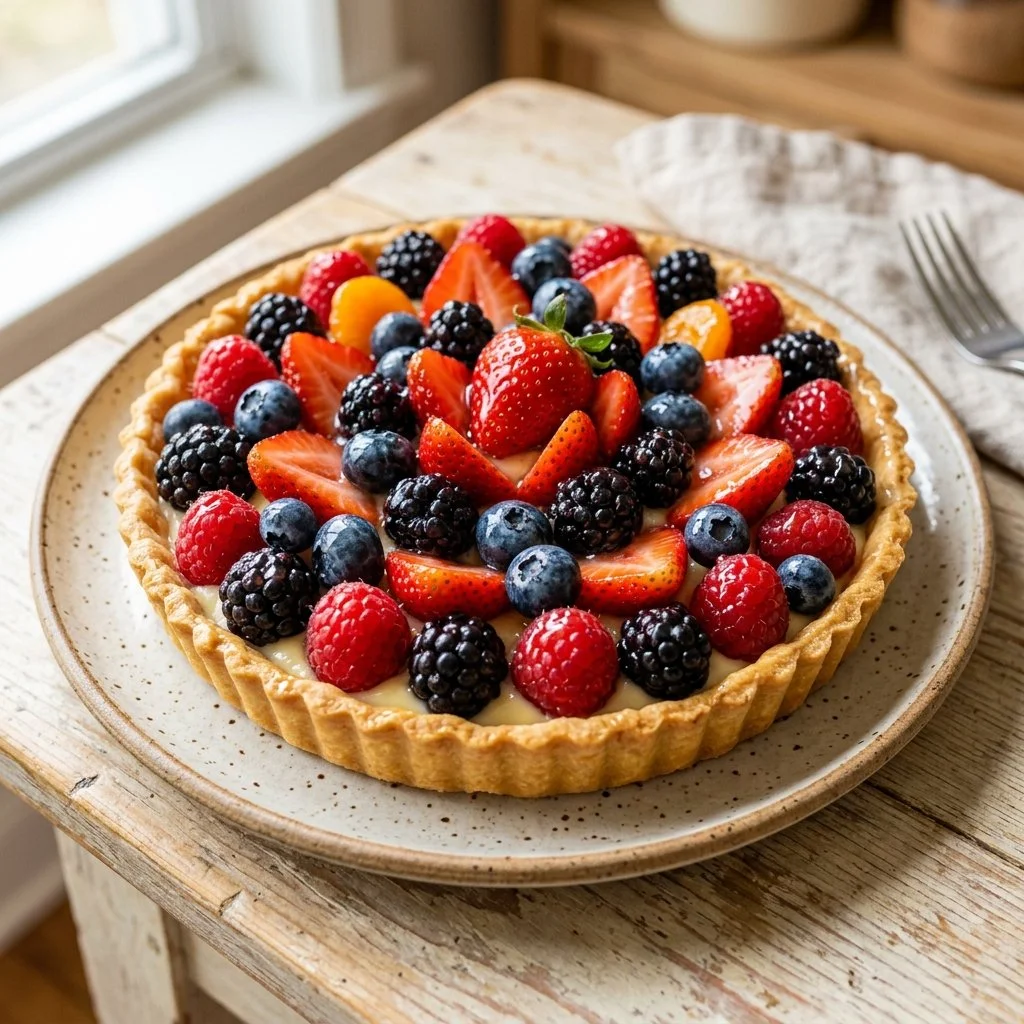
The moment summer graces us with its warmth, a delightful ritual emerges in my kitchen: crafting a vibrant fruit tart. This beautiful dessert isn’t just a feast for the eyes; it holds a special place in my heart. I remember the first time I made one, following my grandmother’s slightly fading recipe while sitting on the cool tiled floor of her kitchen, the sweet aroma of fresh fruits bustling in the air. The colors, the textures, the flavors — every bite felt like a celebration of nature’s bounty.
Now, as I prepare to share this beloved creation with you, I encourage you to step into the kitchen and discover the joy of assembling a fruit tart. It’s simpler than you might think, and perfect for any gathering — or simply just because!
Recipe Timing
- Prep Duration: 20 minutes
- Active Cooking: 10 minutes (if using a pre-made shell)
- Total Duration: 1 hour 30 minutes (including chilling time)
- Portion Size: Serves 6-8 people
- Complexity: Simple
Nutritional Recipe
- Calories per portion: Approximately 210
- Protein: 3 grams per serving
- Carbs: 34 grams per serving
- Fats: 8 grams per serving
- Fiber: 2 grams per serving
- Sugars: 12 grams per serving
- Sodium: 90 mg per serving
Why You’ll Love This Fruit Tart
This fruit tart is a celebration of freshness! The sweet, creamy filling cradled in a crisp, buttery shell, topped off with a dazzling array of juicy fruits, makes it not only eye-catching but also a breathtaking treat for your palate. As the glaze glistens atop the fruits, you’ll realize that this dessert isn’t just a treat; it’s a way to savor the beautiful moments of life. Perfect for sunny afternoons or as a charming dessert for guests, it’s impossible not to fall in love with how easy it is to make and how rewarding it is to serve!
The Complete Cooking Journey
Creating this fruit tart takes you on a delightful journey through simple steps that yield stunning results. Let’s embark on this culinary adventure together!
Ingredients:
- 1 pre-made tart shell
- 1 cup pastry cream or vanilla pudding
- Assorted fresh fruits (e.g., strawberries, blueberries, kiwi, bananas)
- 1/4 cup apricot jam
- 1 tablespoon water
Method:
Step 1: Preheat the Oven
Preheat the oven according to tart shell instructions if baking from scratch. This is the crucial first step, as a perfectly cooked tart shell is the foundation of our dessert.
Step 2: Prepare the Tart Shell
Prepare the tart shell as per the instructions. If it’s pre-made, simply remove it from the packaging and let it cool completely, ensuring it’s firm enough to hold our filling and fruits.
Step 3: Fill with Pastry Cream
Fill the cooled tart shell with 1 cup of luscious pastry cream or vanilla pudding, spreading it evenly with a spatula. This creamy layer acts as a velvety canvas for our colorful fruit masterpiece.
Step 4: Arrange the Fresh Fruits
Now comes the fun part! Take your assorted fresh fruits and arrange them on top of the cream in a decorative pattern. Feel free to get creative — this is your chance to express yourself with flavors and colors. You can create beautiful arches, overlapping circles, or whatever shape speaks to you!
Step 5: Melt the Apricot Jam
In a small saucepan, combine the apricot jam and tablespoon of water. Heat over low until melted and smooth, creating a glistening glaze.
Step 6: Brush the Glaze
Once melted, remove the glaze from heat and brush it over the fruits to give them a shiny finish. This not only enhances the visual appeal but also adds a layer of flavor!
Step 7: Chill Before Serving
Finally, chill your tart in the refrigerator for at least one hour before serving to set the filling and allow the flavors to meld beautifully together.
Serving Suggestions & Pairings
Serve your fruit tart chilled, perhaps with a dollop of freshly whipped cream or a scoop of vanilla ice cream for that extra indulgence. Pair it with a refreshing mint tea or a glass of crisp white wine for an elegant touch at your next gathering.
Storage & Leftovers Guide
The fruit tart is best enjoyed fresh, but it can be stored in the fridge for up to 2 days. Cover it gently with plastic wrap or a container to keep the fruits fresh. If you know there will be leftovers, consider adding the glaze just before serving to maintain the fruit’s integrity.
Kitchen Wisdom & Success Tips
- Freshness is Key: Use the freshest fruits you can find for the best flavor.
- Cut Fruits Carefully: If you plan to prepare fruits in advance, store them in a separate container to prevent the tart shell from becoming soggy.
- Vary the Flavors: Don’t hesitate to experiment with seasonal fruits or even citrus for a tangy twist!
Flavor Variations & Adaptations
Feel free to customize your fruit tart with different fillings — lemon curd or chocolate mousse can add delightful surprises! You can also play with the fruit selection based on what’s available or in season.
Reader Questions & Solutions
-
Can I use frozen fruit instead of fresh?
Yes, but make sure to thaw and dry them thoroughly to avoid excess moisture. -
What if I can’t find apricot jam?
You can substitute with any fruit jam! Peach, cherry, or even raspberry would do the trick! -
Can I make the filling from scratch?
Absolutely! Homemade pastry cream is rich and delicious. There are many simple recipes available. -
How do I keep the tart shell crisp?
Avoid overfilling the shell and refrigerate until just before serving to maintain its crispness. -
Can I make this ahead of time?
Yes! You can assemble everything the day before and add the glaze just before serving.
Wrapping Up
This fruit tart recipe embodies not only the beauty of fresh ingredients but also the joy of creating something beautiful and delicious from scratch. Whether you’re making it for a special occasion or just to brighten your day, I hope you find the process as rewarding as the final luscious bite. So roll up your sleeves, put on your apron, and let’s celebrate the flavors of summer together! Happy baking!