
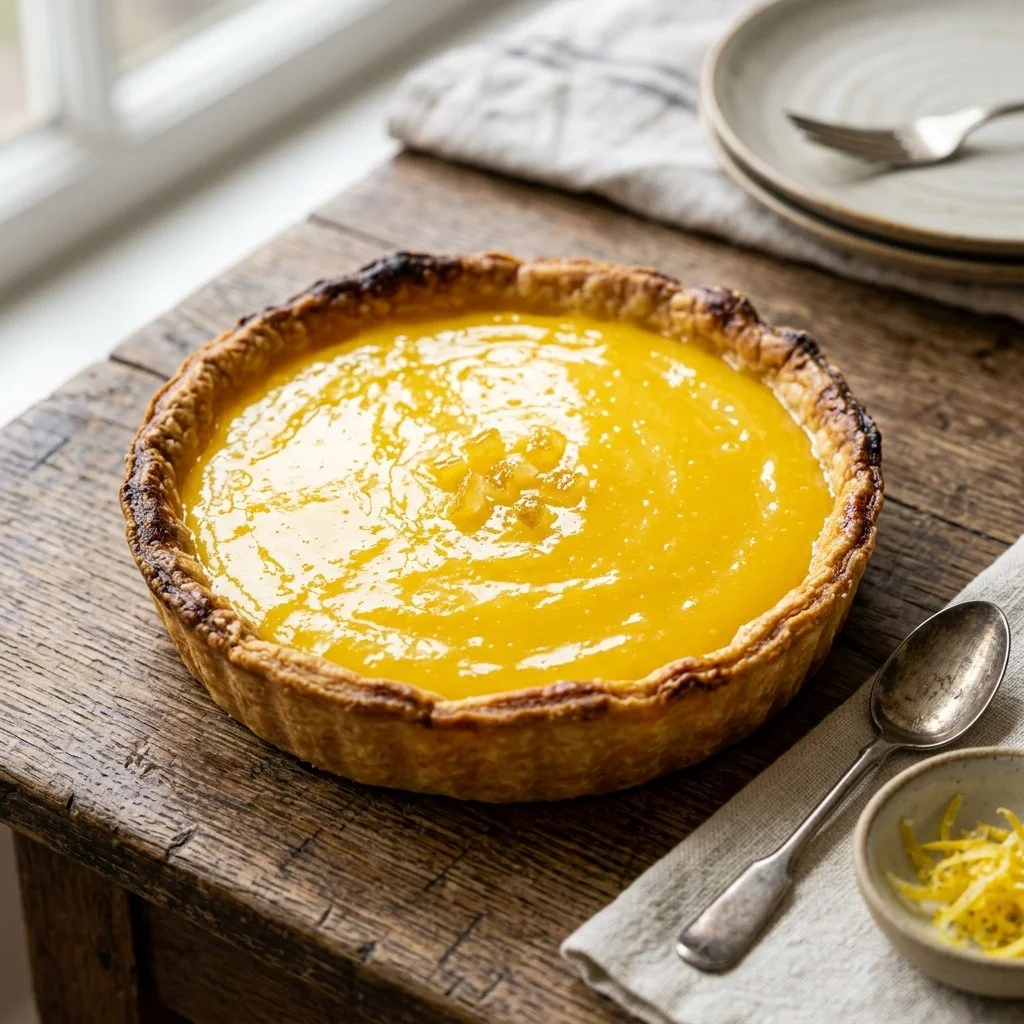
There’s something undeniably special about a Lemon Curd Tart that takes me back to sunny afternoons spent with my grandmother in her cozy kitchen. The aroma of citrus filling the air, mixed with the sweet scent of buttery tart crust, always brought smiles and laughter. It was one of those simple desserts that carried with it a world of flavor. Each slice offered a perfect balance of tangy sweetness and creamy texture, epitomizing the joys of home-cooked treats.
Whenever I see lemon curd tart, I can’t help but reminisce about those moments—squeezing fresh lemons as she taught me the importance of citrus in baking, and carefully whisking the eggs to create the perfect curd. Now, I get to share this delightful recipe with you, so you can create your own memories and perhaps even teach the next generation the magic of lemon tart.
Recipe Timing
- Prep Duration: 15 minutes
- Active Cooking: 15 minutes
- Total Duration: 2 hours 30 minutes (including chilling)
- Portion Size: Serves 8
- Complexity: Simple
Nutritional Recipe
- Calories per portion: 300
- Protein: 4g
- Carbs: 39g
- Fats: 15g
- Fiber: 0g
- Sugars: 22g
- Sodium: 85mg
Why You’ll Love This Lemon Curd Tart
This Lemon Curd Tart is a delightful symphony of flavors and textures. The pre-made tart shell helps ensure that this beloved dessert is quick and effortless, freeing you from the worry of making pastry from scratch. The tart filling, with its bright lemony zing balanced by velvety butter, is simply irresistible. It’s sweet enough to satisfy your cravings but invigoratingly tangy to keep every bite interesting. Plus, it’s a show-stopping dessert that’s perfect for any occasion, from casual family dinners to fancy holiday gatherings!
The Complete Cooking Journey
Ready to embark on a culinary adventure? Let’s transform simple ingredients into a dessert that dazzles:
Ingredients:
- 1 pre-made tart shell
- 1 cup lemon juice
- 1 cup granulated sugar
- 4 large eggs
- 1/2 cup unsalted butter, cubed
- Zest of 2 lemons
- Powdered sugar for dusting (optional)
Method:
Step 1: Preheat the Oven
Preheat the oven to 350°F (175°C). If you’re using a raw tart shell, bake it according to package instructions until golden brown. Allow it to cool completely.
Step 2: Combine Ingredients for Lemon Filling
In a medium saucepan, combine lemon juice, granulated sugar, and the zest of the lemons over medium heat. Stir gently until the sugar has fully dissolved, creating a fragrant mixture.
Step 3: Whisk the Eggs
In a separate bowl, whisk together the eggs until they are nicely blended. Gradually add the warm lemon mixture into the eggs while whisking constantly. This technique helps temper the eggs, preventing them from scrambling.
Step 4: Thicken the Mixture
Return the mixture to the saucepan and cook over low heat. Stir continuously with a wooden spoon for about 8-10 minutes, or until the mixture thickens noticeably. It should coat the back of the spoon.
Step 5: Stir in the Butter
Remove the saucepan from the heat and stir in the cubed butter, allowing it to melt and create a smooth, luscious curd.
Step 6: Fill the Tart Shell
Pour the tangy lemon curd into the cooled tart shell, using a spatula to smooth the top, ensuring every inch is covered in that beautifully bright filling.
Step 7: Chill
Place the tart in the refrigerator and let it chill for at least 2 hours. This cooling time allows the curd to set up perfectly.
Step 8: Garnish & Serve
Before serving, dust the top with powdered sugar for an extra touch of sweetness and elegance. Slice, serve, and enjoy every zesty bite!
Serving Suggestions & Pairings
For a truly delightful experience, serve slices of your Lemon Curd Tart with a dollop of freshly whipped cream or a scoop of vanilla ice cream. Pair it with a soothing cup of herbal tea or a sparkling glass of lemonade; both complement the tart’s zesty flavor beautifully.
Storage & Leftovers Guide
Store any leftover tart in an airtight container in the refrigerator. It will stay fresh for about 3-5 days. If you want to make it in advance, the lemon curd can be prepared a day before assembling the tart, offering you flexibility.
Kitchen Wisdom & Success Tips
- Freshly squeezed lemon juice makes a significant difference in flavor. However, if you’re in a pinch, bottled juice will work as well.
- Make sure to remove the curd from heat as soon as it thickens to avoid overcooking.
- If you notice any lumps in your lemon curd, simply strain it through a fine mesh sieve before pouring it into the tart shell.
Flavor Variations & Adaptations
Feeling adventurous? Try adding a hint of ginger or lavender to your lemon curd for a unique twist. You can also substitute the lemon juice with lime or grapefruit for a different citrus experience.
Reader Questions & Solutions
- Can I use a gluten-free tart shell? Absolutely! Many stores offer gluten-free options that work just as well.
- What if my lemon curd is too runny? Ensure you cooked it long enough; if it’s still too runny, heat it gently while stirring until it thickens further.
- Can I freeze the tart? While it’s best made fresh, you can freeze the lemon curd (without the tart shell) for up to 3 months. Thaw and reassemble when ready to use.
- How do I get rid of lumps in my curd? Strain the mixture before setting it into the shell to ensure a smooth texture.
- What’s the best way to zest lemons? Use a microplane for fine zest, and avoid the white pith for a bitter taste.
Wrapping Up
Baking this Lemon Curd Tart is not just about the end result, but the joy of creating something delicious from scratch. Let the bright flavors take center stage while you bask in the compliments from your family or guests. Whether it’s your first time making a tart or you’re a seasoned pro, I hope this recipe brings you as much happiness as it brings me. Happy baking, and may your kitchen be filled with love and laughter, one slice at a time!