
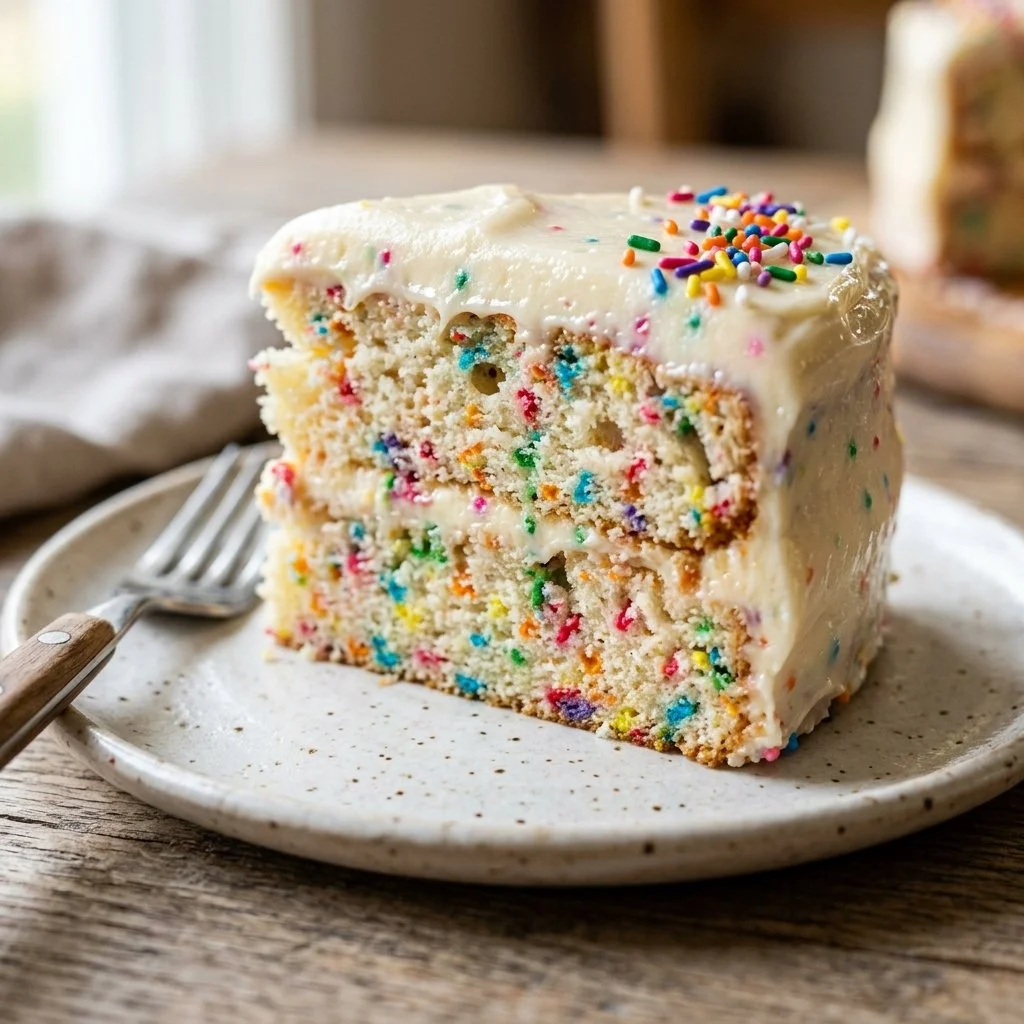
There’s something undeniably joyful about the first slice of a Funfetti Cake—a lovely swirl of colors peeking through the soft, fluffy layers. It feels like a slice of nostalgia, almost like a party on a plate. Whether it’s a birthday, a promotion, or simply a Tuesday that needs some extra sparkle, Funfetti Cake brings a sense of celebration like no other. I fondly remember my childhood birthday parties; my mom would bake a colorful cake adorned with bright sprinkles that would light up the table and my friends’ faces. This delightful dessert is easy to make and perfect for any occasion. Let’s dive into the world of Funfetti Cake and bring a little joy into your kitchen!
Recipe Timing
- Prep Duration: 15 minutes
- Active Cooking: 30 minutes
- Total Duration: 45 minutes
- Portion Size: Serves 10
- Complexity: Simple
Nutritional Recipe
- Calories per portion: Approximately 380
- Protein: 4 grams
- Carbs: 54 grams
- Fats: 18 grams
- Fiber: 0 grams
- Sugars: 27 grams
- Sodium: 180 mg
Why You’ll Love This Funfetti Cake
This beloved classic not only looks vibrant but also offers a delightful taste that feels like a burst of sunshine. With its moist, buttery layers and the sweet surprise of rainbow sprinkles, each bite is a celebration. It’s also incredibly versatile; whether you prefer a simple buttercream frosting or a fluffy whipped cream topping, this cake embraces all variations. Plus, you can easily customize it by swapping out sprinkles or adding your favorite flavors. It’s a canvas for your creativity, and who doesn’t love a cake that brings smiles?
The Complete Cooking Journey
Let’s take a moment and revel in the journey from mixing to baking. Imagine the sweet aroma of vanilla wafting through your kitchen as you whip up this delightful cake. The colors of the sprinkles dancing throughout the batter create an enchanting swirl—it truly feels like crafting something magical. Baking is as much about the process as it is about the finished product, and this Funfetti Cake is a perfect introduction to the joy of baking!
Ingredients:
- 2 1/2 cups all-purpose flour
- 1 1/2 cups granulated sugar
- 1 tablespoon baking powder
- 1/2 teaspoon salt
- 1 cup unsalted butter, softened
- 1 cup whole milk
- 4 large eggs
- 2 teaspoons vanilla extract
- 1/2 cup rainbow sprinkles
Method:
Step 1: Preheat the Oven
Preheat the oven to 350°F (175°C). Grease and flour two 9-inch round cake pans.
Step 2: Combine Dry Ingredients
In a large bowl, mix together the flour, sugar, baking powder, and salt. This forms the base for your fluffy cake, ensuring each slice has that perfect texture.
Step 3: Mix in the Wet Ingredients
Add the softened butter, milk, eggs, and vanilla extract. Beat with an electric mixer on medium speed for about 2 minutes until well combined. This is where your batter starts to transform into something beautiful!
Step 4: Fold in the Funfetti
Gently fold in the rainbow sprinkles. This step is like adding confetti to a party—suddenly, everything feels more festive.
Step 5: Divide Batter
Divide the cake batter evenly between the prepared pans. Watching the vibrant colors spread through the batter is like watching a painter add strokes to a canvas.
Step 6: Bake to Perfection
Bake for 25-30 minutes, or until a toothpick inserted into the center comes out clean. Keep an eye on your cakes; they should rise beautifully, turning a lovely golden brown.
Step 7: Cool the Cakes
Let the cakes cool in the pans for 10 minutes, then remove from the pans and cool completely on a wire rack. This is the hardest part—waiting to taste!
Step 8: Frost and Decorate
Frost with your favorite frosting and add more sprinkles if desired. The colorful sprinkles add that final touch of joy, making every slice a celebration.
Serving Suggestions & Pairings
This Funfetti Cake is perfect on its own, but it pairs beautifully with a scoop of vanilla ice cream, a dollop of whipped cream, or a side of fresh berries. Serve at birthday parties, family gatherings, or even for just a cozy dessert night at home. It’s all about making memories around the table.
Storage & Leftovers Guide
To keep your Funfetti Cake fresh, store it in an airtight container at room temperature for up to 3 days, or in the fridge for up to a week. If you want to save some for later, you can freeze it! Just wrap each slice in plastic wrap and then place it in a freezer-safe container. It can last for up to 3 months.
Kitchen Wisdom & Success Tips
- Make sure your butter is softened properly; it should be creamy but not melted before mixing.
- To keep the colorful sprinkles vibrant during baking, gently fold them into the batter at the end, as described.
- If the cake domes too much during baking, you can level the tops with a serrated knife for a beautiful finish.
Flavor Variations & Adaptations
Want to personalize your Funfetti Cake even more? Consider adding a teaspoon of almond extract for a nutty twist or switch up the sprinkles to match a holiday theme! For a chocolate version, mix in cocoa powder or brown sugar instead of some flour. The possibilities are endless!
Reader Questions & Solutions
- Why did my cake sink in the middle?: This could be due to overmixing or underbaking. Always check with a toothpick to ensure it’s fully baked.
- Can I use cake flour instead of all-purpose flour?: Yes, cake flour will give your cake an even lighter texture. Just adjust the quantities as needed.
- What frosting goes best with Funfetti Cake?: A classic buttercream or cream cheese frosting complements the cake perfectly.
- How do I know when the cake is done?: Insert a toothpick into the center—if it comes out clean, your cake is ready!
- Can I substitute whole milk with a dairy-free alternative?: Absolutely! Almond milk, oat milk, or any dairy-free milk works well.
Wrapping Up
Baking a Funfetti Cake isn’t just about satisfying your sweet tooth; it’s about creating joyful connections with family and friends around the table. So, put on your favorite apron and embrace the colors, flavors, and fun! You’ve got this, and I can’t wait for you to create your version of this delightful cake. Happy baking!