
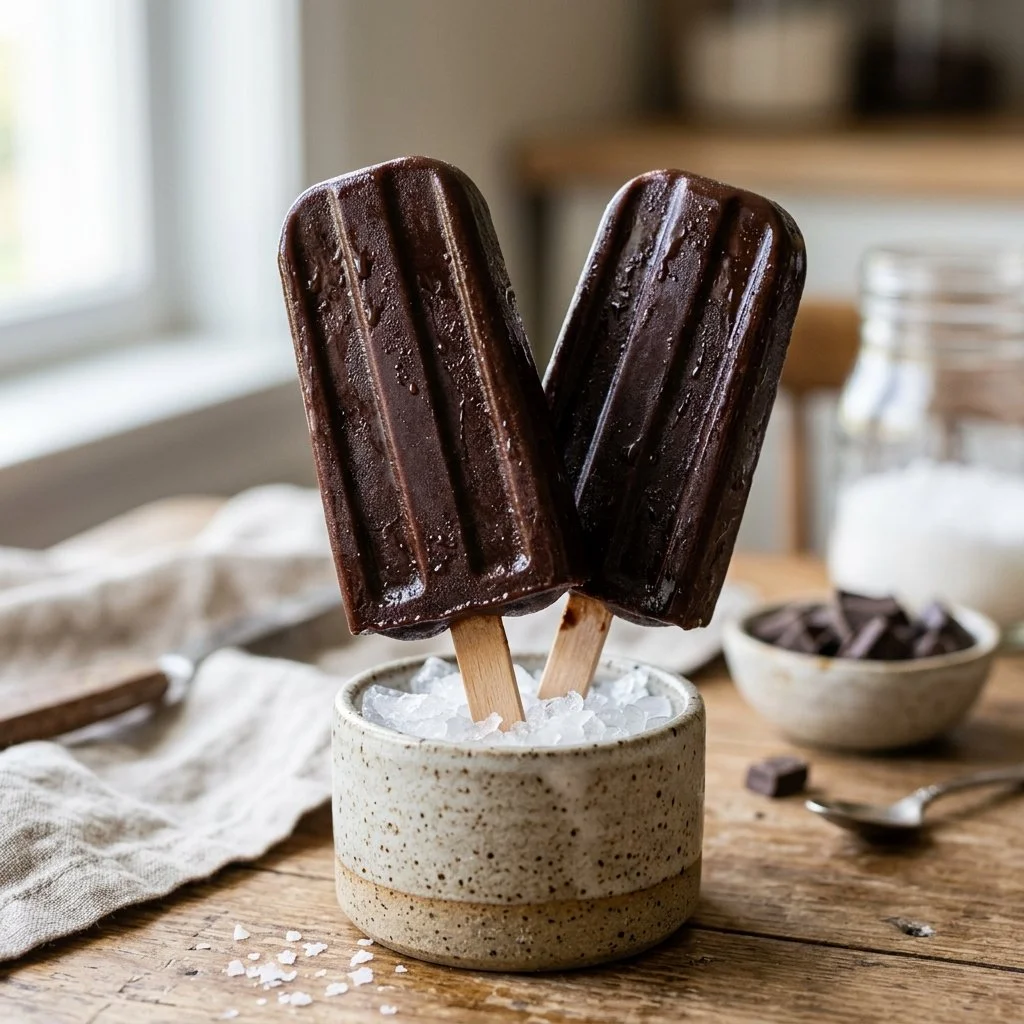
As the summer sun makes its grand entrance, I can’t help but feel a tinge of nostalgia wash over me. There’s something magical about hot sunny days and the promise of chilling treats that recalls my childhood—especially those moments spent standing by the freezer, eagerly waiting for a popsicle to emerge. The anticipation of feeling the coolness of a fudge pop melting in my mouth is a sweet memory that always warms my heart. This year, I decided to create that childhood bliss in my own kitchen with homemade fudge pops that are not only rich and creamy but also incredibly easy to whip up!
Recipe Timing
- Prep Duration: 15 minutes
- Active Cooking: 10 minutes
- Total Duration: 6 hours 15 minutes (including freezing)
- Portion Size: Makes about 8 pops
- Complexity: Simple
Nutritional Recipe
- Calories per portion: Approximately 180 kcal
- Protein: 3g
- Carbs: 21g
- Fats: 9g
- Fiber: 0g
- Sugars: 20g
- Sodium: 50mg
Why You’ll Love This Homemade Fudge Pops
These homemade fudge pops are not just a delightful treat; they bring with them the essence of summer in every bite. The luscious chocolate flavor dances on your taste buds, while the creamy texture makes every pop a moment of joy. They’re made with wholesome ingredients, and you can easily tweak the recipe to make it your own! Whether you’re enjoying them in your backyard during a sunny afternoon or at an evening barbecue, these fudge pops are guaranteed to please both kids and adults alike.
The Complete Cooking Journey
Making these fudge pops is an experience in itself, filled with warmth, laughter, and indulgent chocolate goodness. From melting together the velvety cocoa with rich dairy to pouring the mixture into molds, it’s a straightforward process that transforms simple ingredients into something extraordinary. The best part? You can almost hear the joyful squeals of delight as you bring these pops out of the freezer!
Ingredients:
- 2 cups milk
- 1 cup heavy cream
- 1 cup sugar
- 1/2 cup unsweetened cocoa powder
- 1 teaspoon vanilla extract
- A pinch of salt
Method:
Step 1: Combine the Base Ingredients
In a saucepan, combine the milk, cream, sugar, cocoa powder, and a pinch of salt. This initial mixture will form the foundation of our delicious fudge pops.
Step 2: Heat and Stir
Cook over medium heat, stirring continuously until the mixture is smooth and the sugar has completely dissolved. This is the magic moment when your kitchen begins to smell like a chocolate paradise!
Step 3: Add the Vanilla Essence
Remove the saucepan from heat and stir in the vanilla extract. This little step adds that necessary depth of flavor, turning our chocolate base into something truly special.
Step 4: Cool Down
Allow the mixture to cool slightly. This step is key—too hot, and we risk melting our popsicle molds!
Step 5: Pour into Molds
Once cooled, carefully pour the chocolate mixture into popsicle molds. Don’t forget to insert your sticks—this is essential for indulging in your frozen creation later!
Step 6: Freeze Until Solid
Pop those molds into the freezer and wait patiently (at least 6 hours is recommended) until they are solid. Feel free to sneak a peek to build the anticipation!
Step 7: Enjoy the Fudge Pops
To serve, run the molds under warm water for a few seconds to help release the fudge pops. Now it’s time to delight in your creamy, frozen treats!
Serving Suggestions & Pairings
These fudge pops stand wonderfully on their own, but they can definitely be elevated with a few simple touch-ups. Consider drizzling them with melted chocolate, rolling them in crushed nuts, or pairing them with a scoop of vanilla ice cream. They also make a fantastic companion to fresh strawberries or a handful of mixed berries.
Storage & Leftovers Guide
If you find yourself with leftover fudge pops (though I highly doubt that will happen!), store them in an airtight container in the freezer for up to 2 months. Just remember to separate them with a layer of parchment paper to prevent them from sticking together.
Kitchen Wisdom & Success Tips
- If you want to enhance the chocolate flavor, try using high-quality cocoa powder—it’s worth it!
- You can substitute some of the milk for almond milk or coconut milk if you’re looking for a dairy-free option.
- For a fun twist, throw in a tablespoon of peanut butter or Nutella into the mixture before freezing.
Flavor Variations & Adaptations
Feeling adventurous? Try adding crushed Oreos, peanut butter, or even espresso powder for a mocha fudge pop! The options are endless, and every batch can be a new adventure.
Reader Questions & Solutions
-
Can I use non-dairy milk?
Absolutely! Almond milk, oat milk, or coconut milk work wonderfully in this recipe. -
What if I don’t have popsicle molds?
You can use small paper cups and place sticks into them. Just peel the cup away when you’re ready to enjoy! -
How can I make these pops sweeter or less sweet?
Adjust the sugar to your liking. You can add more for a sweeter treat or reduce it for a more subtle flavor. -
Can I use semi-sweet chocolate instead of cocoa powder?
Yes! Just melt the chocolate with the milk and cream on low heat. You’ll get a richer fudge flavor. -
What if my pops freeze too hard?
If they’re too solid, try letting them sit at room temperature for a few minutes before attempting to remove them from the molds.
Wrapping Up
Making homemade fudge pops is a joyous celebration of summer that captivates the spirit of nostalgia and fun. As you embark on this delightful cooking journey, know that each bite carries warmth, memories, and a taste of childhood to savor. So grab your ingredients, and let’s make this summer unforgettable with delicious fudge pops that will bring joy to everyone. Happy cooking!